Moving my blog to Hugo (Part 2)

In my first post on moving my site from an Azure webapp running WordPress to Hugo, i showed how i created the site. How i picked and then configured a theme, import posts etc, but i didn’t show how i deployed it.
I could have just manually build the site using the hugo command line and then copied this to my storage account. I also could have used the Azure portal to deploy all of my infrastructure. However, this didn’t feel right. If i manually deploy each time, thats effort and also an opportunity for human error. So i used probably my favorite tool, Azure DevOps, to automate this process.
Prerequisites
Before we dive into setting up the automated deployment of our site, we need to setup some prereqs to make this happen. When we do finally get to the deploying the site, this might seem disjointed and thats because it is. I use DevOps all day at work and i took for granted the amount of setup there is. Its not loads, but if you’re new to this it may seem a bit overwhelming. So please bear with me 😊
Custom Domain
In this example i put my site behind a custom domain. I brought my domain from goDaddy, but you can use another vendor. It doesn’t really matter, however you will need to change your domains dns servers to be Azure DNS servers. Microsoft has a generic article on how to do this. Give it a go and if you get stuck, let me know in the comments and i will create a post for this.
Create Azure Artifacts feed
There are plenty of excellent guides and official documentation on how to use Azure DevOps so i didn’t want to write another one. However creating an Azure Artifacts feed is key to what were doing so i just wanted to run through the process to make sure you didn’t lose momentum.
So first create a DevOps organisation as described in this course. Then create a project as described in this article.
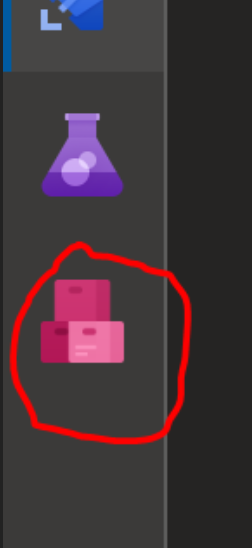
Once you have a project, click on the Azure Artifacts icon
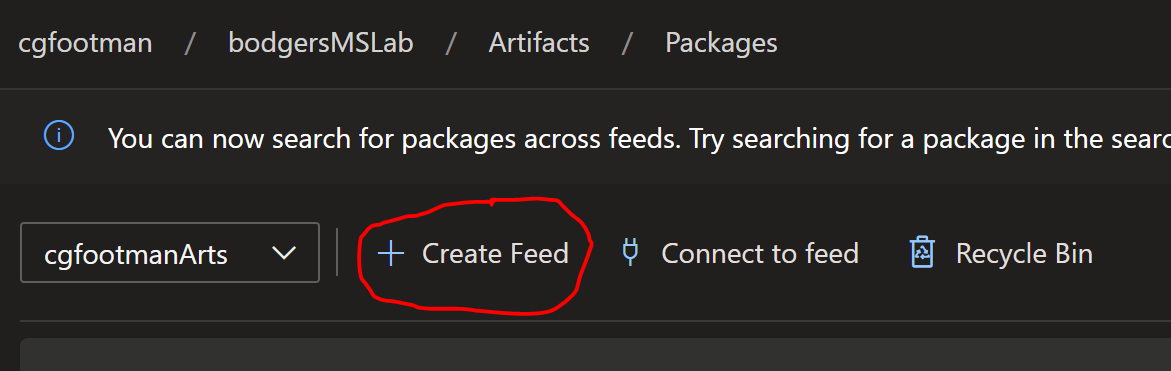
Now Click on the create feed button
On the dialog that appears, select a name for your feed and i would suggest you restrict access to members of your DevOps org, rather than the whole of your Azure Active Directory. You don’t have to, but if someone is in your AAD they can pull your artifacts.
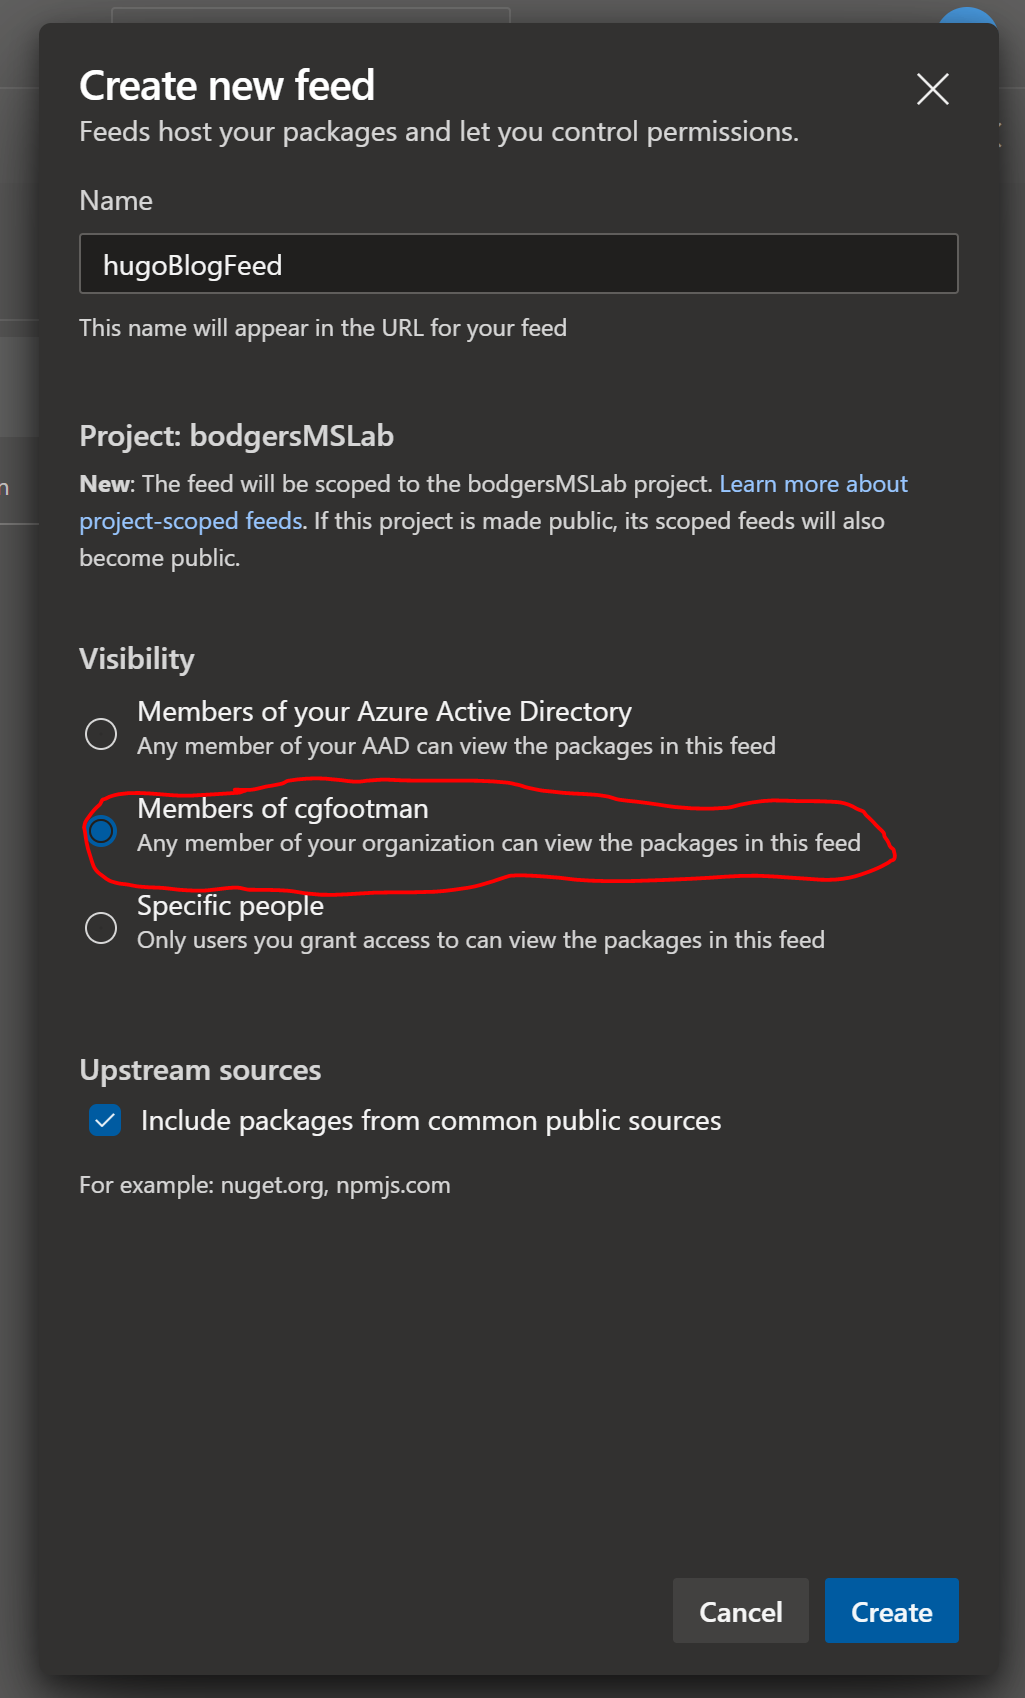
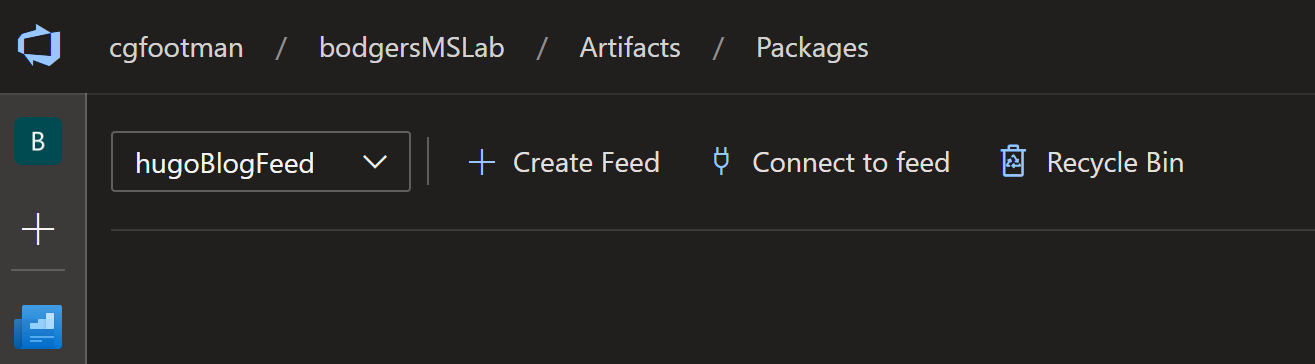
Click the create button and you should have your new feed.
Updating the parameter files
If you haven’t done it before or done it a lot, working with Azure ARM templates (JSON) can seem a little scary and thats fine. If this is just a means to get your blog up and running, thats ok. Just update the values and forget about it. If you want to learn more about working with ARM templates, then there are some great tutorials from Microsoft and others that will help.
You’ll need to grab a copy of the companion files for this. Add them to your git repo as described in this article.
Once you have them, browse to the ARM folder.
    Directory: C:\git\exampleCode\ARM

Mode                 LastWriteTime         Length Name
----                 -------------         ------ ----
-a---          14/06/2020    21:24            428 dev.parameters.json
-a---          14/06/2020    21:24           3772 dev.template.json
-a---          14/06/2020    21:24           1275 prod.parameters.json
-a---          14/06/2020    21:24          17006 template.json
You can see there are four files, a template and parameter file for both Dev and Prod environments. We’re interested in dev.parameters.json and prod.parameters.json. I’m going to run through each parameter value and what they should be set to. I use a naming convention that is explained in the main article. I would stick to it as its quite logical, but if you want to change it, just make sure you update the references in the pipelines (A simple find/replace will do it).
To change a value, you simply update the text on the right side of the colon. For example, if i wanted to change my location from “westeurope” to “uksouth”. My code would go from this
        "location": {
            "value": "westeurope"
        },
to this. The only thing that has changed is the value.
        "location": {
            "value": "uksouth"
        },
dev.parameters.json
| Param Name | Param Description |
|---|---|
| storageAccounts_name | This is the name of the storage account. It needs to be lower case with no spaces or special characters |
| location | This is the region in Azure you would like your resources deployed to |
| tags | These are the tags you would like applied to your resources. You can add more, you just need to follow the below format. Notice the commas |
        "tags": {
            "value": {
                "enviroment": "development",
                "site": "My Blog",
                "costCode": "CC1234"
             }
            }
prod.parameters.json
| Param Name | Param Description |
|---|---|
| profiles_name | This is the name of the Azure CDN profile |
| storageAccounts_name | This is the name of the storage account. It needs to be lower case with no spaces or special characters |
| dev-storageAccounts_name | This is the name of the Dev storage account, seems odd, but bear with me |
| workspaces_name | The name of your log analytics workspace |
| location | This is the region in Azure you would like your resources deployed to |
| customDomain_name | This is your domain name. Make sure you swap the . for - |
| websiteHostname | This is your domain name, you can leave the . in |
| sku | This is a default value for Log Analytics, you don’t need to change it |
| tags | These are the tags you would like applied to your resources. You can add more, you just need to follow the below format. Notice the commas |
| requestSource | This is a default value for Application Insights, you don’t need to change it |
| type | This is a default value for Application Insights, you don’t need to change it |
| dnsZonesName | This is your custom domain name minus the www. |
Adding the verification code for custom DNS on your CDN Endpoint
It’s likely that the above may not mean anything to you, if you haven’t worked with Azure CDNs before. When you add a custom https endpoint to your CDN, Azure will ask you add a text record to your domains DNS with a certain value. It will be a short string with numbers and letters. Take this value and replace the insert the record Azure asks you to bit below in ARM\template.json. Then run your Prod pipeline again. This technically isn’t a prereq, its more of a troubleshooting setup, but this seemed the best place to put it. forewarned is forearmed and all that jazz. If you have problems with step, let me know in the comments.
        {
            "type": "Microsoft.Network/dnszones/TXT",
            "apiVersion": "2018-05-01",
            "name": "[concat(parameters('dnsZonesName'), '/@')]",
            "dependsOn": [
                "[resourceId('Microsoft.Network/dnszones', parameters('dnsZonesName'))]"
            ],
            "properties": {
                "TTL": 3600,
                "TXTRecords": [
                    {
                        "value": [
                            "<insert the record Azure asks you too>"
                        ]
                    }
                ],
                "targetResource": {
                }
            }
        },
If you setup all of the above (make sure your commit your changes to the Dev and Prod parameter files), then your ready to start creating your pipelines.
Deploying the site
As I have mentioned before I use Azure DevOps to host my git repo and deploy my website using a pipeline. If you haven’t used it before, check out this short course which does a great job of explaining what Azure DevOps is and how it works. I really like it and would encourage you to try it.
If you prefer to use something else, then you should still be able to use some of the steps/scripts I outline below. If you have trouble translating the steps to github, jenkins etc, let me know in the comments.
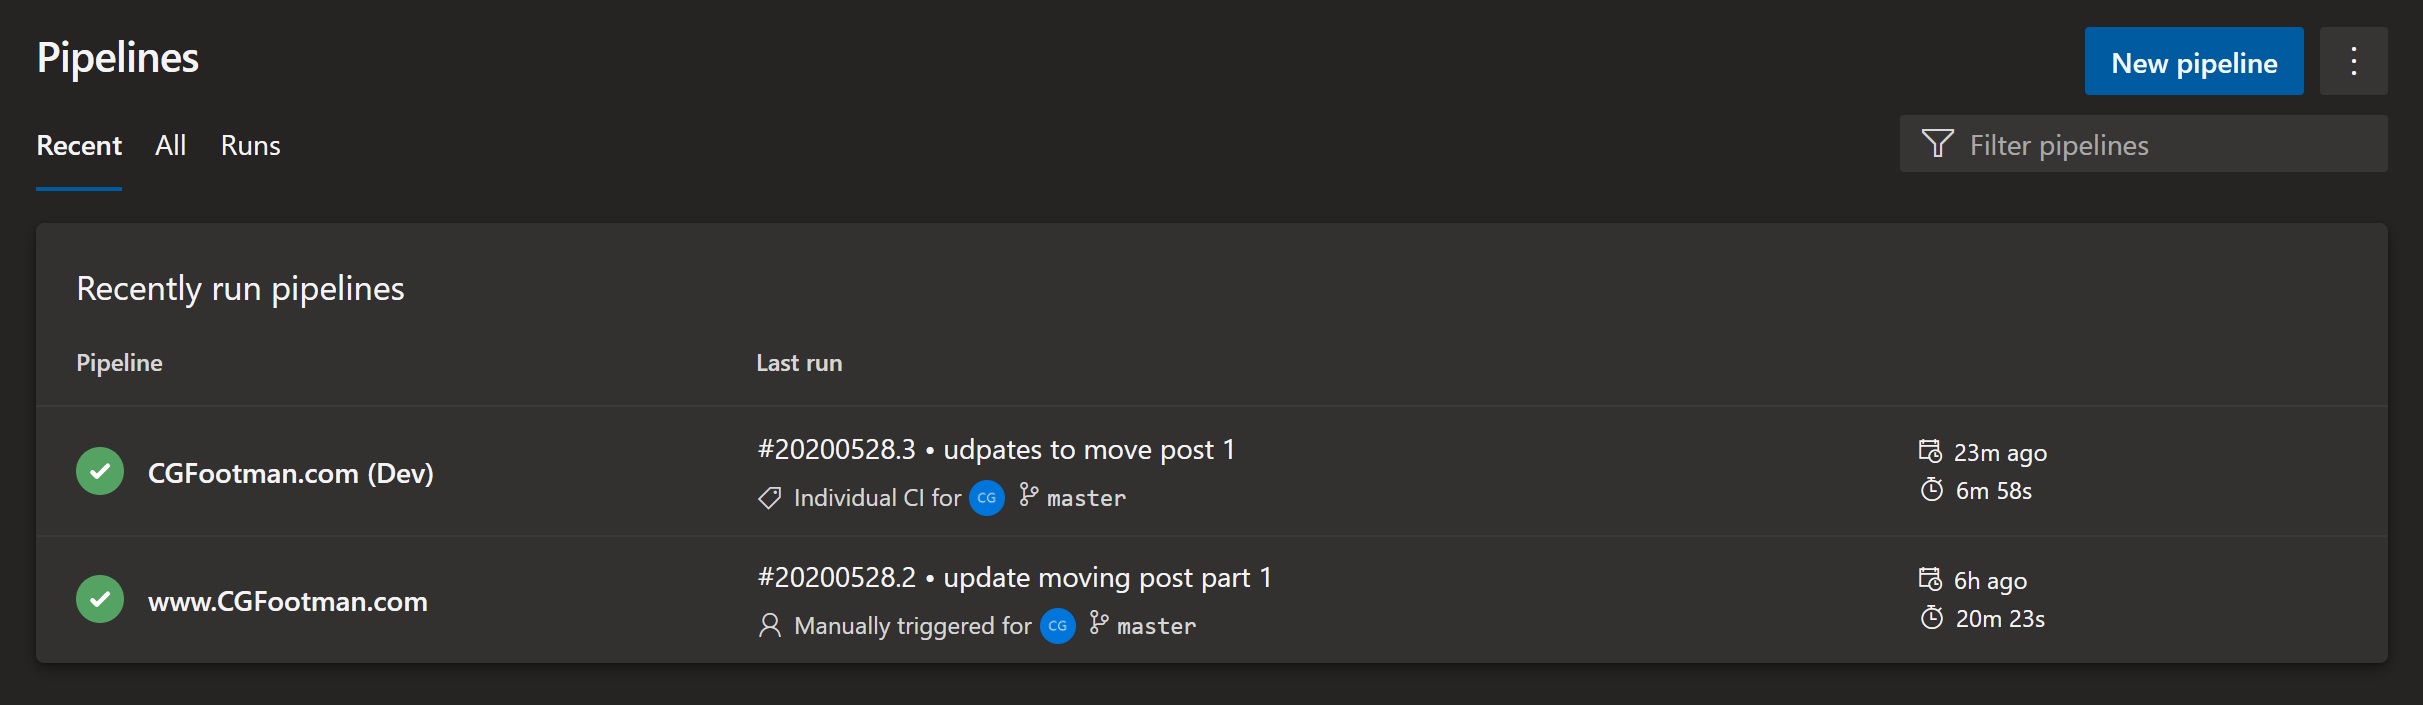
I have two pipelines configured, one that deploys the Dev website and creates an artifact of the site files and another that creates the Prod website and deploys the website artifact.
As part of the New Pipeline wizard you select your repo and choose either to use an existing yaml file in that repo or have DevOps create you a starter template.
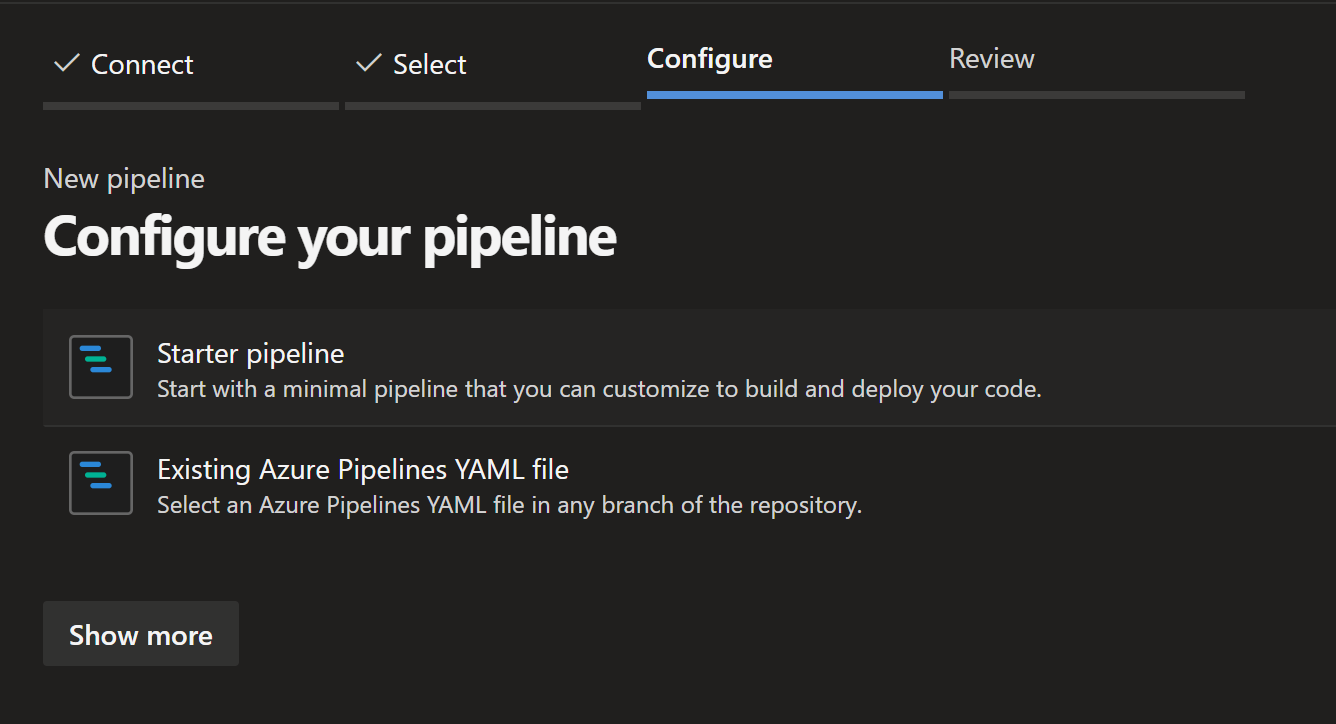
If you copy the companion files to your repo, you could just point to my example Dev pipeline yaml or alternatively select a starter pipeline and then copy the Dev yaml contents.
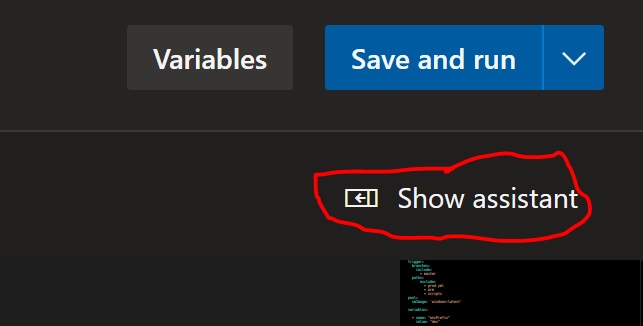
If you can’t see the task pane on the right, click the Show Assistant (if you want tips on how to professionally circle things in blog post, please let me know in the comments)
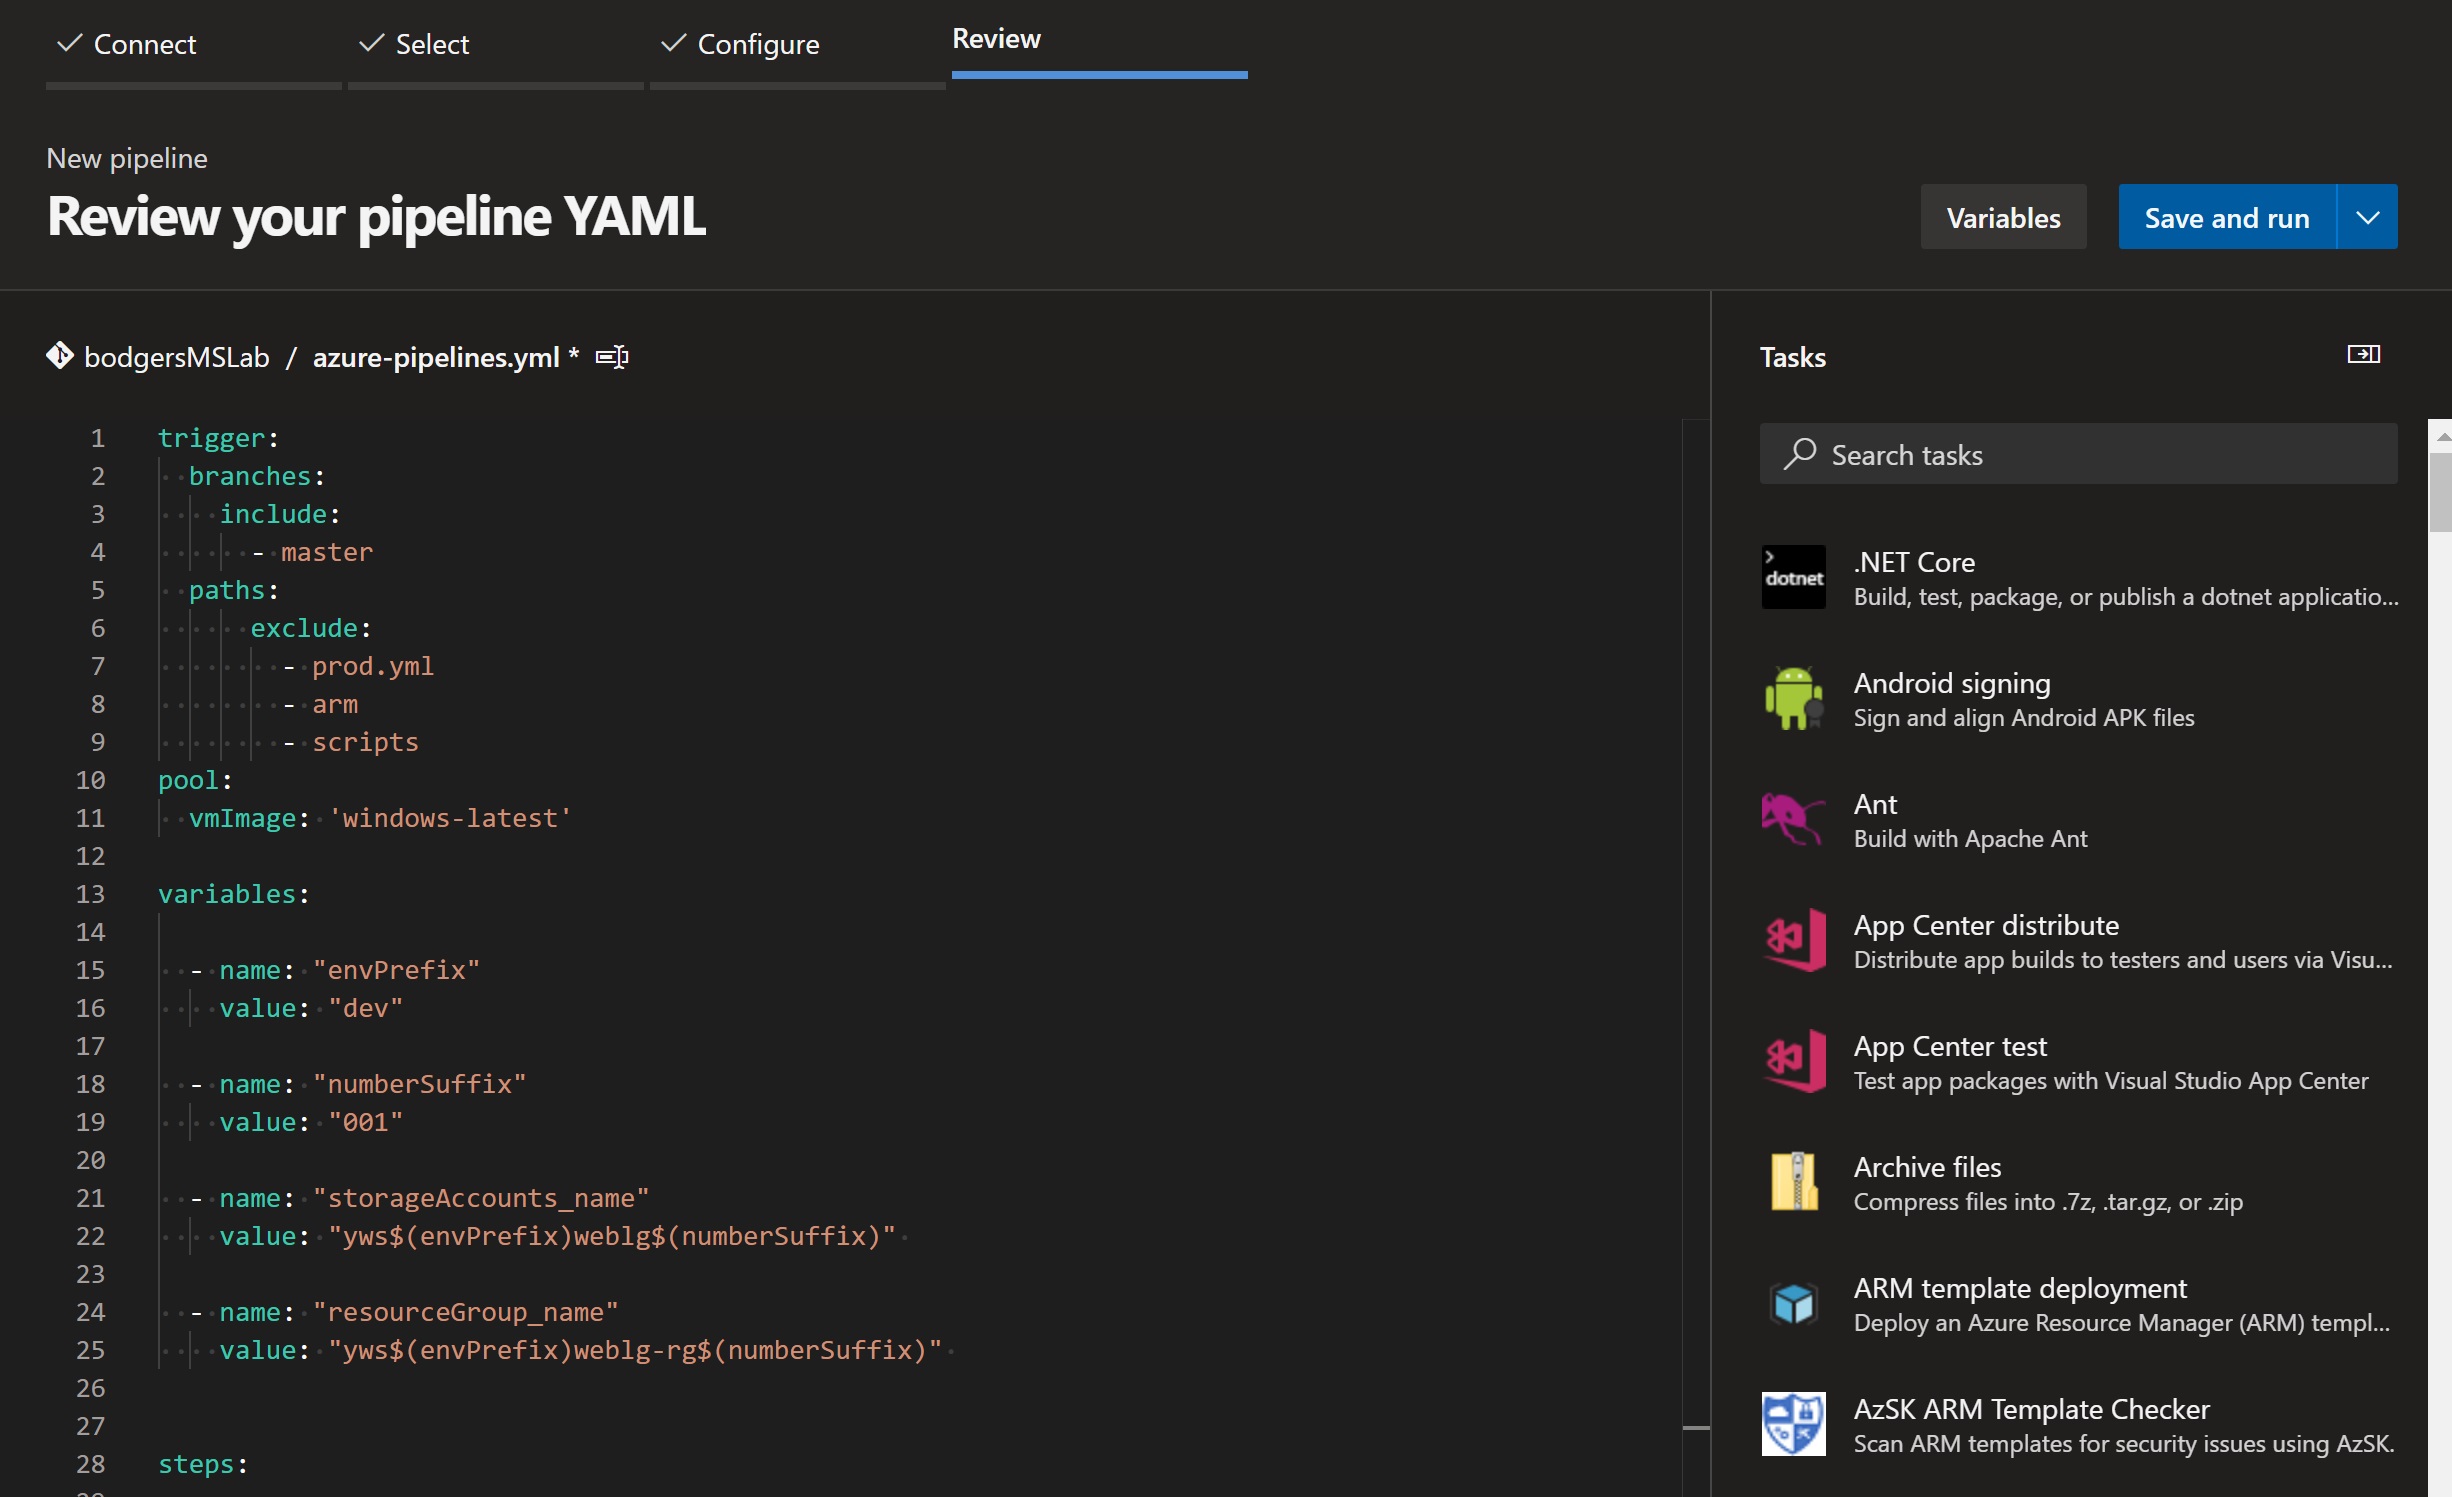
The yaml file is composed of sections, the first of which is trigger: This is simply the condition that starts the pipeline. We trigger the Dev pipeline, whenever the master branch is committed to. We have excluded changes to some files, so that if they are modified, the pipeline will not start. You would do this if you have a yaml file for another pipeline or some shared files that are not used by the Dev environment
trigger:
  branches:
    include:
      - master
  paths:
      exclude:
        - prod.yml
        - arm
        - scripts
The next section is pool: this specifies which build agent pool runs your pipeline. This can be one of Microsofts hosted pools or a private pool you have created.
pool:
  vmImage: 'windows-latest'
Using microsoft’s build agents is the easiest option and you get 1000 build minutes free a month. There are advantages to running your own build agents (speed, having your custom tools installed, etc) but you don’t need to. In this example we will use a windows build agent and then install hugo onto it as part of the pipeline.
The next section is variables which allows you to parameterise your tasks in the pipeline. This looks a bit trippy to start with, but one your get the hang of it, its amazing.
variables:

  - name: "envPrefix"
    value: "dev"

  - name: "numberSuffix"
    value: "001"

  - name: "storageAccounts_name"
    value: "yws$(envPrefix)weblg$(numberSuffix)"

  - name: "resourceGroup_name"
    value: "yws$(envPrefix)weblg-rg$(numberSuffix)"
You can see that some of my variables, have other variables inside them. To use a variable you have defined in the variables section, you simply put its name in brackets with a dollar sign. like this
$(myVariable)
In the example Dev pipeline I have used a naming convention which incorporates the defined variables (i’ve also been really lazy using the storage account name for a few things). It looks like this
"yws$(envPrefix)weblg$(numberSuffix)"
Breaking it down we have
yws this is just a 3 letter code to keep your resources unique, It can be anything you want.
$(envPrefix) This is the environment variable for the site, in this case “dev”. I try and keep this to 3 characters as well, but you can create a longer one
weblg This is the region “west europe” and “blg” as this is a blog. You don’t have to follow this, but I find it handy to put the region in.
$numberSuffix This is the number variable, again 3 characters and allows you more than one set of resources in an environment. So you wanted a Dev A and B, you could have 001, 002, 003, 999 etc.
The variable storageAccounts_name is going to be used for an Azure storage account. So make sure you keep it lowercase, otherwise you will get an error when you deploy.
After variables we have the final section steps, this contains the tasks of our build which are what actually performs the actions of the build. All of the tasks inside the steps section are set to fail the pipeline if they fail. This is handy because it stops incomplete configurations being deployed or being attempted.
steps:


- task: AzureResourceManagerTemplateDeployment@3
  displayName: "Deploy ARM Template"
  inpu...
The general flow of the steps in my pipeline (Still working on getting the text aligned properly on the mermaid diagram).
The first tasks creates my Azure Infrastructure using ARM templates. This is a default task that can be picked from the assistant. Its called ARM Template Deployment
- task: AzureResourceManagerTemplateDeployment@3
  displayName: "Deploy ARM Template"
  inputs:
    deploymentScope: 'Resource Group'
    azureResourceManagerConnection: 'Pay-As-You-Go(subscription-ID)'
    subscriptionId: 'subscription-ID'
    action: 'Create Or Update Resource Group'
    resourceGroupName: '$(resourceGroup_name)'
    location: 'West Europe'
    templateLocation: 'Linked artifact'
    csmFile: 'arm\dev.template.json'
    csmParametersFile: 'arm\dev.parameters.json'
    deploymentMode: 'Incremental'
    deploymentName: '$(Build.BuildId)'
    overrideParameters: "-storageAccounts_name $(storageAccounts_name)"
The only thing you need to change in this task is the azureResourceManagerConnection: value. You need to create a service connection to your azure subscription Instructions here. Devops will guide you through this process with a wizard. If you want to create the service principal that DevOps users manually, then use these instructions
I would suggest inserting a dummy ARM task and picking your newly create service connection. Then you can copy and paste the value from your dummy task to this one, then delete the dummy. Saves on the Typos
The next two tasks, run Azure powershell commands against our deployed resources. As with all Azure Powershell Tasks, you need to update the azureSubscription variable with your service principal name.
The first sets our Azure resources to send their diagnostic information to log analytics. This is done by calling a PowerShell Script. You can find the script in the script folders of the companion files.
- task: AzurePowerShell@5
  displayName: "Set diagnostics to log analytics"
  inputs:
    azureSubscription: 'Pay-As-You-Go(subscription-ID)'
    ScriptType: 'FilePath'
    ScriptPath: 'scripts\enableDiagToLaw.ps1'
    ScriptArguments: '-laWorkspaceName "$(storageAccounts_name)" -resourcegroupname "$(resourceGroup_name)"'
    FailOnStandardError: true
    azurePowerShellVersion: 'LatestVersion'
    pwsh: true
The second script task configures the storage account to share the files via https. It differs to our first Azure PowerShell task, because it uses inline PowerShell rather than calling a script.
- task: AzurePowerShell@5
  displayName: "Set state website and enable https"
  inputs:
    azureSubscription: 'Pay-As-You-Go(subscription-ID)'
    ScriptType: 'InlineScript'
    Inline: |
      write-output "Get Storage Account"
      $storageAccount = get-AzStorageAccount -ResourceGroupName '$(resourceGroup_name)' -AccountName '$(storageAccounts_name)'

      write-output "Get Storage Account Context"
      $ctx = $storageAccount.Context

      Write-output "Enable Static Website"
      Enable-AzStorageStaticWebsite -Context $ctx -IndexDocument  "index.html" -ErrorDocument404Path "404.html"

    FailOnStandardError: true
    azurePowerShellVersion: 'LatestVersion'
    pwsh: true
There are pros and cons to each type of Azure powershell task. I prefer to use PowerShell scripts over inline, because it keeps the pipeline cleaner. However, if its a short script (or starts out as one) inline is fine. It also has the added convenience of being able to reference pipeline variables directly, rather than having to pass them in as environment variables.
Adding a variable called dave would look like this in a script file task
- task: AzurePowerShell@5
  displayName: "Set diagnostics to log analytics"
  inputs:
    azureSubscription: 'Pay-As-You-Go(2b762fb5-c113-449e-9f20-b37f64d86861)'
    ScriptType: 'FilePath'
    ScriptPath: 'scripts\enableDiagToLaw.ps1'
    ScriptArguments: '-laWorkspaceName "$(storageAccounts_name)" -resourcegroupname "$(resourceGroup_name)"'
    FailOnStandardError: true
    azurePowerShellVersion: 'LatestVersion'
    pwsh: true
  env:
    davePipelineVariable: $(dave)
and would then be called like this in the script
write-host "$($env:davePipelineVariable) is awesome"
where as in a inline task, you would just do this
write-host "$(dave) is awesome"
It doesn’t look too bad, but it means you have to double handle your params.
The next task is used to install the chocolatey executable, if you don’t know what chocolatey is, Its a package manager for windows - imagine apt get for windows. I love it.
- task: PowerShell@2
  displayName: 'Choco Install Hugo'
  inputs:
    targetType: 'inline'
    script: |
     choco install hugo

    failOnStderr: true
Once Hugo is installed, we use a PowerShell (Not Azure PowerShell) Task to build the hugo Dev site.
- task: PowerShell@2
  displayName: 'Hugo build site -DEV'
  inputs:
    targetType: 'inline'
    script: |
      if(test-path -path "C:\ProgramData\chocolatey\lib\hugo\tools\hugo.exe"){
        write-output "Can resolve hugo path"

        ls '$(System.DefaultWorkingDirectory)/hugositedirectory'

        write-output "changing to directory: hugositedirectory"
        set-location '$(System.DefaultWorkingDirectory)/hugositedirectory'

        write-output "Running hugo.exe"
        hugo -t liva-hugo --cleanDestinationDir --verbose --baseURL 'https://$(storageAccounts_name).z6.web.core.windows.net/' --buildDrafts
      }
      else{
        write-warning "unable to find Hugo"
      }
    failOnStderr: true
    pwsh: true
    workingDirectory: '$(System.DefaultWorkingDirectory)/hugositedirectory'
You’ll notice that I add a few extra arguments to the hugo command. I also set my working directory to $(System.DefaultWorkingDirectory)/hugositedirectory this is important. I need to know where its outputting the files, so that I can copy them to the storage account.
Lets breakdown the hugo command
hugo -t <Theme Name> --cleanDestinationDir --verbose --baseUrl <The url of the storage account> --buildDrafts
Due to formatting, the below commnads apear to have a single -, when they should have a double - as above
The –cleanDestinationDir switch will make sure that the hugositedirectory is empty before it copies any files. I’m probably being paranoid, but its nice to know that only my site files will be there.
–verbose makes sure that if I have an issue with the hugo build, I have plenty of logs to look through to find the issue.
–buildDrafts tells Hugo to include any posts I have marked as draft in the header information of the post.
draft: true
Theme name and base url I hope are self explanatory, but if not let me know in the comments and i’ll update this post.
Once I have built the Dev site, I need to copy it to the Dev storage account. As with the ARM task, you only need to update the azureSubscription value.
- task: AzureFileCopy@3
  displayName: "Copy files to Storage Account"
  inputs:
    SourcePath: '$(System.DefaultWorkingDirectory)/hugositedirectory/public'
    azureSubscription: 'Pay-As-You-Go(subscription-ID)'
    Destination: 'AzureBlob'
    storage: '$(storageAccounts_name)'
    ContainerName: '$web'
    CleanTargetBeforeCopy: true
    CopyFilesInParallel: true
Once we have deployed to the storage account, we need to build the production site files. This time I don’t build drafts, but I do specify the output folder. This isn’t consistent with the Dev build that just uses the working directory, but meh.
you will need to update the url of your website (Replace https://www.yourwebsite.com/)
- task: PowerShell@2
  displayName: 'Hugo build site - PROD'
  inputs:
    targetType: 'inline'
    script: |
      if(test-path -path "C:\ProgramData\chocolatey\lib\hugo\tools\hugo.exe"){
        write-output "Can resolve hugo path"

        ls '$(System.DefaultWorkingDirectory)/hugositedirectory'

        write-output "changing to directory: hugositedirectory"
        set-location '$(System.DefaultWorkingDirectory)/hugositedirectory'

        write-output "Running hugo.exe"
        hugo -t liva-hugo --cleanDestinationDir --verbose --baseURL 'https://www.yourwebsite.com/' --destination '$(System.DefaultWorkingDirectory)/hugositedirectory/prodpublic'
      }
      else{
        write-warning "unable to find Hugo"
      }
    failOnStderr: true
    pwsh: true
    workingDirectory: '$(System.DefaultWorkingDirectory)/hugositedirectory'
Once we have built the Prod site, we need to copy the files to the artifact staging directory (You don’t technically have to, but I like to)
- task: CopyFiles@2
  displayName: "Copy Prod public site files to Artifact Staging Directory"
  inputs:
    SourceFolder: '$(System.DefaultWorkingDirectory)/hugositedirectory/prodpublic'
    Contents: '**'
    TargetFolder: '$(Build.ArtifactStagingDirectory)'
    CleanTargetFolder: true
    OverWrite: true
Then we create an Azure Artifact of the production site. This is so our production pipeline can pull this down and just deploy it. Rather than having to build it again. You will need to update the values for vstsFeedPublish and vstsFeedPackagePublish. As with getting the service connection name, I suggest adding a dummy universal artifacts task from the assistant, selecting your feed, then copying the values across to this tasks before deleting the dummy task.
- task: UniversalPackages@0
  displayName: "Publish artifact"
  inputs:
    command: 'publish'
    publishDirectory: '$(Build.ArtifactStagingDirectory)'
    feedsToUsePublish: 'internal'
    vstsFeedPublish: 'feed-guid/feed-guid'
    vstsFeedPackagePublish: 'feed-name'
    versionOption: 'minor'
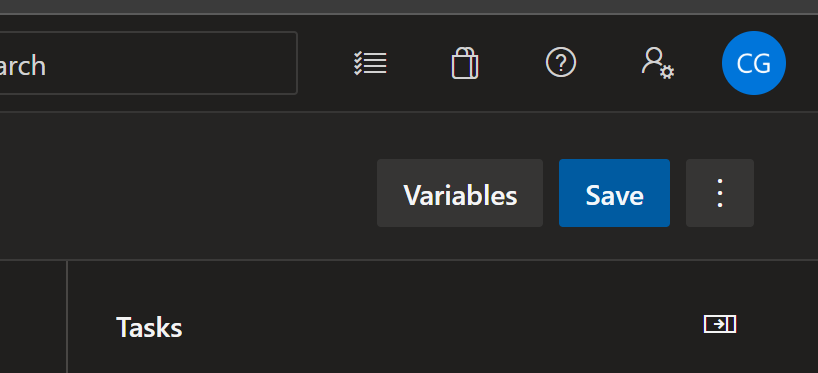
Now we can save the pipeline, by clicking the Save button in the top right
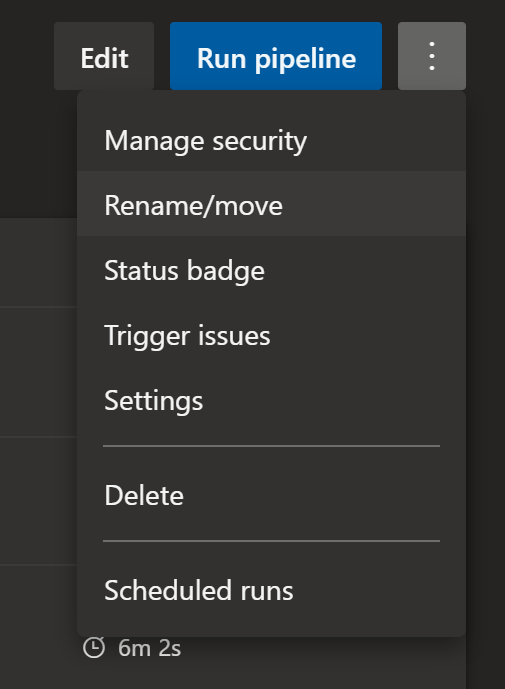
You’ll notice that by default DevOps gives your pipeline a lame name, so we want to change that by clicking the 3 dots in the top right and selecting rename/move
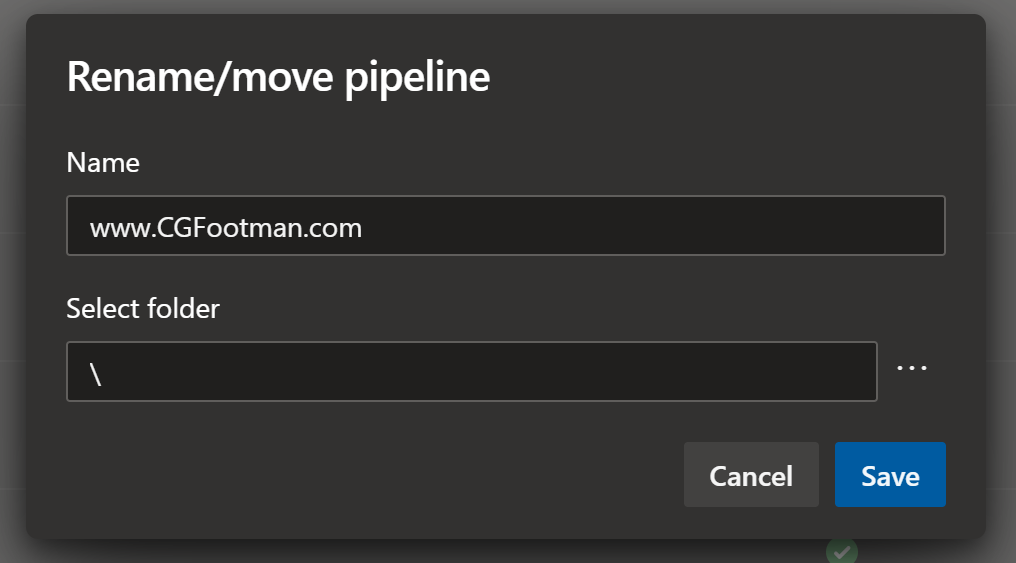
Type a new name for your pipeline and click save. You can also select/create a folder here to place your pipeline under if you want.
So thats our Dev pipeline. After you have run it (Click on it, then click Run pipeline button) you should see the Prod site artifact in the artifact feed.
Click on the Artifacts button and then you should see our artifact
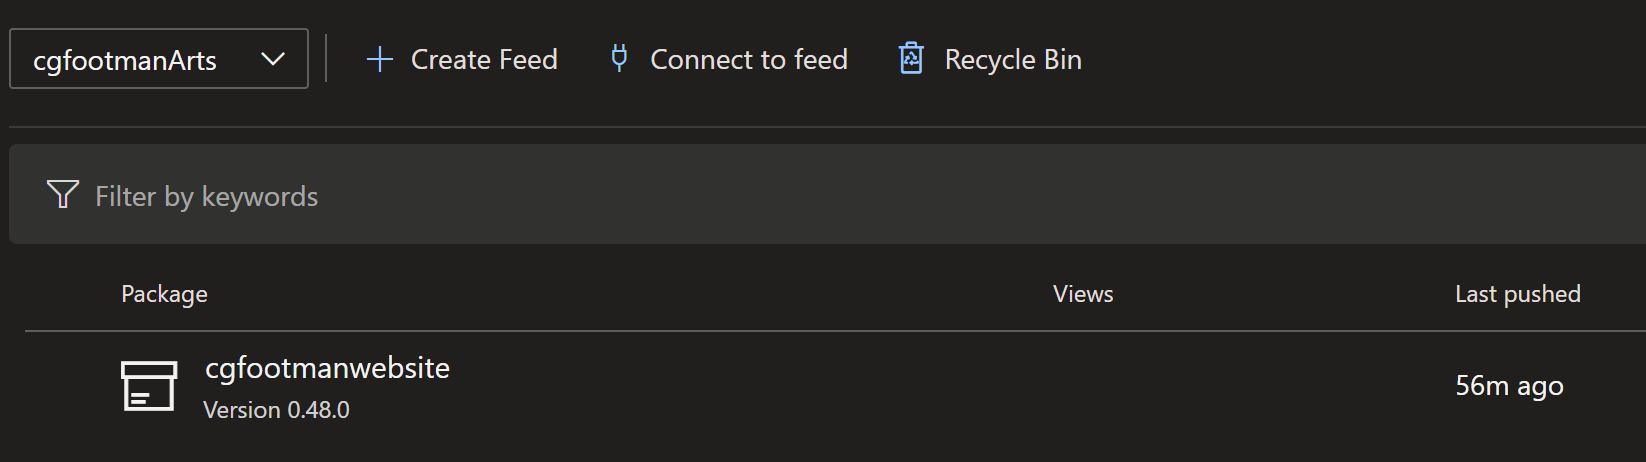
Feels pretty good doesn’t it :)
Now we need to create the Prod pipeline. The process is the same, except you select the prod.yml as your existing yaml file.
When the pipeline opens, you’ll notice that the trigger section is different.
trigger:
- none
This pipeline can only be run manually. I did this intentionally as I wanted control on when my articles/site changes went live (As I have no automated testing setup), however you could stitch these two pipelines together if you wanted.
The variables section is similar, but contains some extra variables for the larger production infrastructure. As with the Dev pipeline, you will need to change yws to your own unique prefix. Also change www-cgfootman-com to your domain name, but replace the . with - as Azure CDN doesn’t like them
  - name: "cdnProfileName"
    value: "yws$(envPrefix)wecdp$(numberSuffix)"

  - name: "customDomainName"
    value: "www-cgfootman-com"

  - name: "endpointName"
    value: "yws$(envPrefix)weblg$(numberSuffix)"
The tasks are similar, but there are a few changes. We aren’t building from a repo, we already built an artifact. So we need to download it.
- task: DownloadPackage@1
  displayName: "Download cgFootman website universal artifact"
  inputs:
    packageType: 'upack'
    feed: 'feed-id/feed-id'
    view: 'view-id-probably-prod'
    definition: 'guid-of-your-package'
    version: '*'
    downloadPath: '$(System.ArtifactsDirectory)'
You could create a dummy task, copy the values etc, but I would just replace this task with one you create in the assistant. Just make sure you compare them to make sure all of the values are the same downloadPath especially.
The ARM template task is the same as the Dev yaml, however the arm templates are different. They deploy extra resources such as Azure DNS, Azure CDN, Etc
The next two tasks are Azure PowerShell. The first loops through the resources in the target resource group and sends their diagnostic logs to Log Analytics, just like it does in dev. The second task, enables the static website on our storage account but also enables custom https on the CDN endpoint. Most of the script is the same as the Dev pipeline, but the custom https is new.
- task: AzurePowerShell@5
  displayName: "Set state website and enable https on custom endpoint"
  inputs:
    azureSubscription: 'Pay-As-You-Go(subscription-ID)'
    ScriptType: 'InlineScript'
    Inline: |
      write-output "Get Storage Account"
      $storageAccount = get-AzStorageAccount -ResourceGroupName '$(resourceGroup_name)' -AccountName '$(storageAccounts_name)'

      write-output "Get Storage Account Context"
      $ctx = $storageAccount.Context

      Write-output "Enable Static Website"
      Enable-AzStorageStaticWebsite -Context $ctx -IndexDocument  "index.html" -ErrorDocument404Path "404.html"


      $customDomainHttps = Get-AzCdnCustomDomain -CustomDomainName $(customDomainName) -EndpointName $(endpointName) -ProfileName $(cdnProfileName) -ResourceGroupName $(resourceGroup_name)

      If (!(($customDomainHttps.CustomHttpsProvisioningState -eq "Enabled") -or ($customDomainHttps.CustomHttpsProvisioningState -eq "Enabing"))) {
         Write-output "Enable Custom Https on CDN Endpoint"
         Enable-AzCdnCustomDomainHttps -ResourceGroupName $(resourceGroup_name) -ProfileName $(cdnProfileName) -EndpointName $(endpointName) -CustomDomainName $(customDomainName)
      }
      else {
        Write-output "Https already enabled on custom end point"
      }
    FailOnStandardError: true
    azurePowerShellVersion: 'LatestVersion'
    pwsh: true
The next task will look familiar, it copies the site files to the Prod storage account. Just like we did in the Dev yaml.
The final task is another Azure PowerShell task. It runs the ps commands to flush the CDN cache. This is to make sure that when we push the changes to our Prod site it updates as quickly as possible.
- task: AzurePowerShell@5
  displayName: "Purging CDN"
  inputs:
    azureSubscription: 'Pay-As-You-Go(subscription-ID)'
    ScriptType: 'FilePath'
    ScriptPath: 'scripts\purgeCDNContent.ps1'
    ScriptArguments: '-ResourceGroupName "$(resourceGroup_name)" -ProfileName "$(cdnProfileName)" -EndpointName "$(endpointName)"'
    FailOnStandardError: true
    azurePowerShellVersion: 'LatestVersion'
    pwsh: true
If your happy with the Prod yaml, click save. You should have an artifact in your feed from when we ran the Dev pipeline, so just run this pipeline (Prod) and it should deploy your live site Yeh!
…and breathe
It was bit of slog to get to this point, but now whenever you commit code it will automatically publish it to your Dev site. Once you have reviewed the site and are happy you can then run the Prod pipeline and it will update your Prod site. I like to keep the authorization to push to Prod to be manual, just in case. As i said before, I haven’t written any unit tests yet, so i’m not that confident that I wouldn’t have made a mistake.
Companion Files
The companion files to this article, can be found here
Useful links
Below are some of the links I used while writing the posts. I didn’t implement everything discussed in theses articles, but they all helped.
Configure an Azure Web App to redirect
Adding Google Analytics and AdSense to a Hugo website
Deploying a Hugo site to Azure Storage static website hosting using Azure DevOps
Native HUGO Deployment to Azure
Official deployment docs from Hugo.io
Up & Running With Hugo Part I: Building Your First Site
How to start a blog using Hugo
Running Hugo on Azure for $2 a month
Host your Hugo site on Azure Storage