Using Application Insights annotations with a Hugo site

I use Application Insights to monitor my Hugo site. Mainly to record page visits, but it can do so much more than that. One of it’s cool features are annotations. They are markers on application insight charts that record significant events, like a Azure DevOps pipeline release. I’ve added them to my production release pipeline, so that I can monitor how my changes affect performance and visitor numbers.
Microsoft provides an guide to setting this up, which goes through how to setup annotations in a release. However these are “classic” release pipelines rather than the newer YAML based pipelines. The process is almost identical, but not quite.
If you don’t currently deploy your site with Azure DevOps, but would like to, read this post, it documents how I deploy my hugo site. Hopefully it will help you get started. If you use another tool, like Jenkins, TeamCity, Travis etc you will should still be able to create release annotations,but you will need to skip to the Create Custom Annotations section.
Create Annotations For Azure DevOps Releases
Before we can add the task to our pipeline, we need to install the Annotations task from the marketplace. Follow this link and click Get it free. The wizard will walk you through installing it in your DevOps organisation.
Once it’s installed, edit the DevOps pipeline you wish to add the annotations too and pick where you want your annotation to be created. I create the annotation at the end of a successful build, but you may want one at start or one at the start and one at the end etc.
Open the assistant on the right of the pipeline editor and search for the Release Annotation task
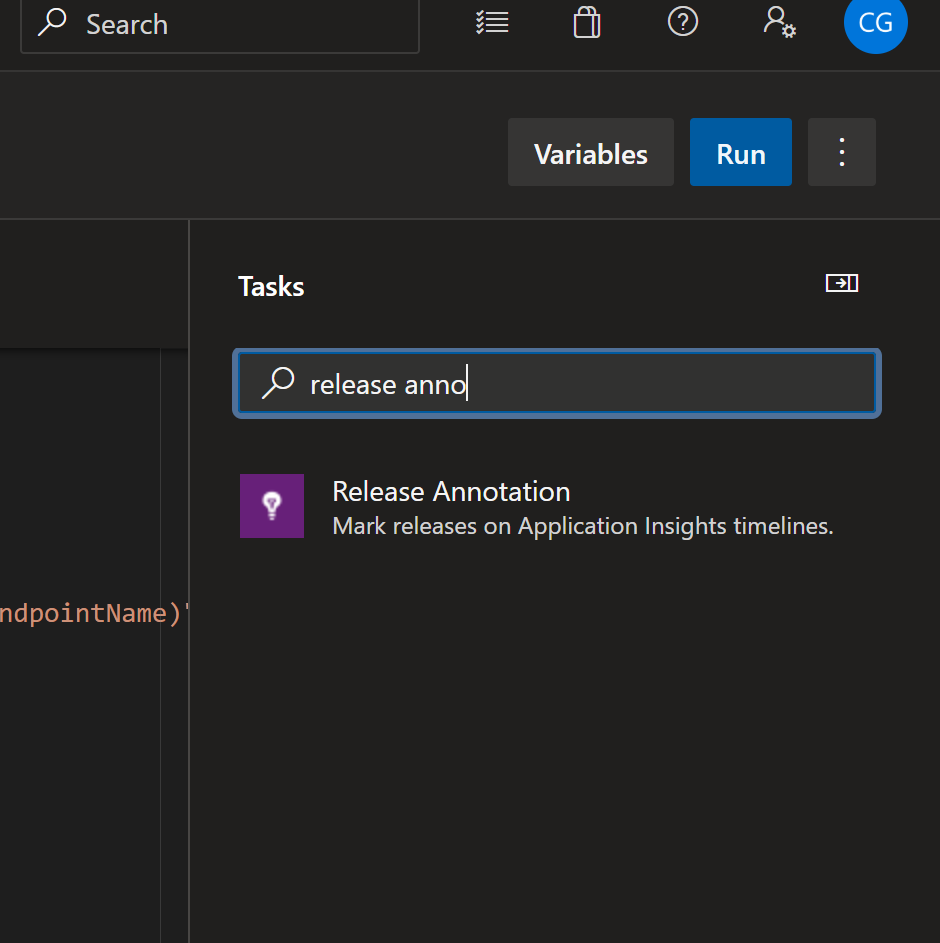
Enter any text for Application ID and Application Key and click Add. Don’t worry, we’re going to parameterise those values.
The task should look like the below.
- task: ms-appinsights.ReleaseAnnotation@1
  inputs:
    applicationId: 'dsfadfadf'
    apiKey: 'sdafdfdsaf'
Replace your dummy values with variables, it doesn’t matter about the names, they just have to be inside the $( ).
- task: ms-appinsights.ReleaseAnnotation@1
  inputs:
    applicationId: '$(applicationID)'
    apiKey: '$(ApiKey)'
You could keep these variables in your pipeline yaml and access them directly, but it’s generally not good practice to hold api keys in plain text. Also it seems a waste when DevOps has a great library feature.
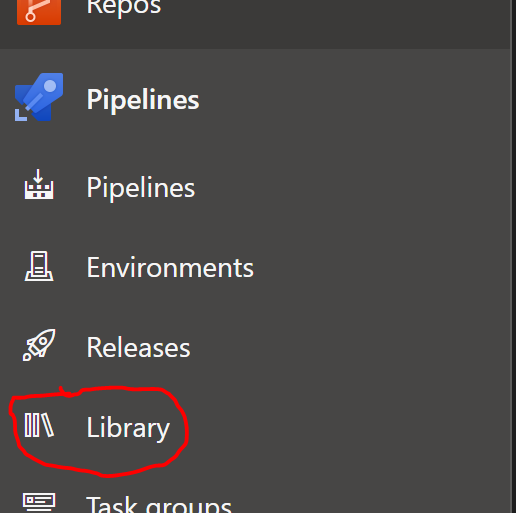
click save on your pipeline, then click on the Pipelines > Library in the left hand navigation bar.
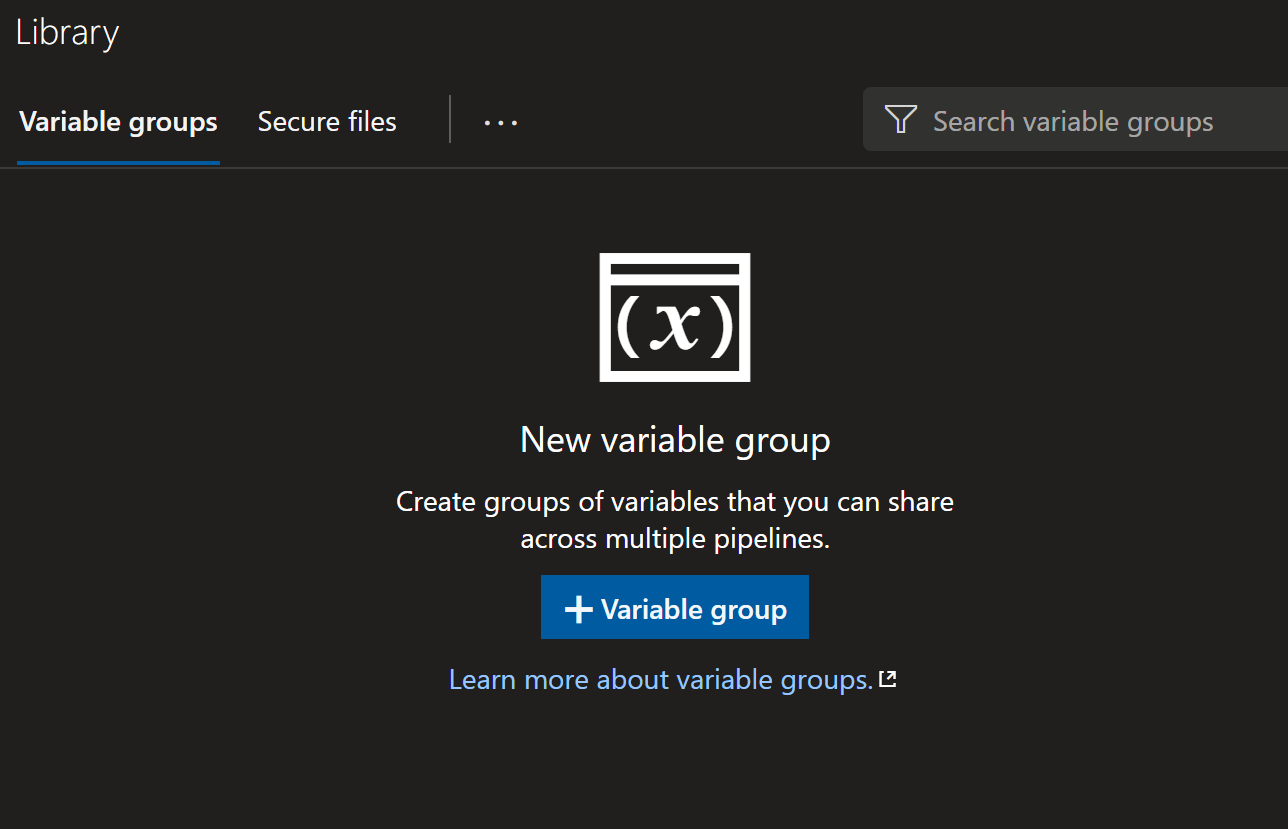
Click the + Variable group button
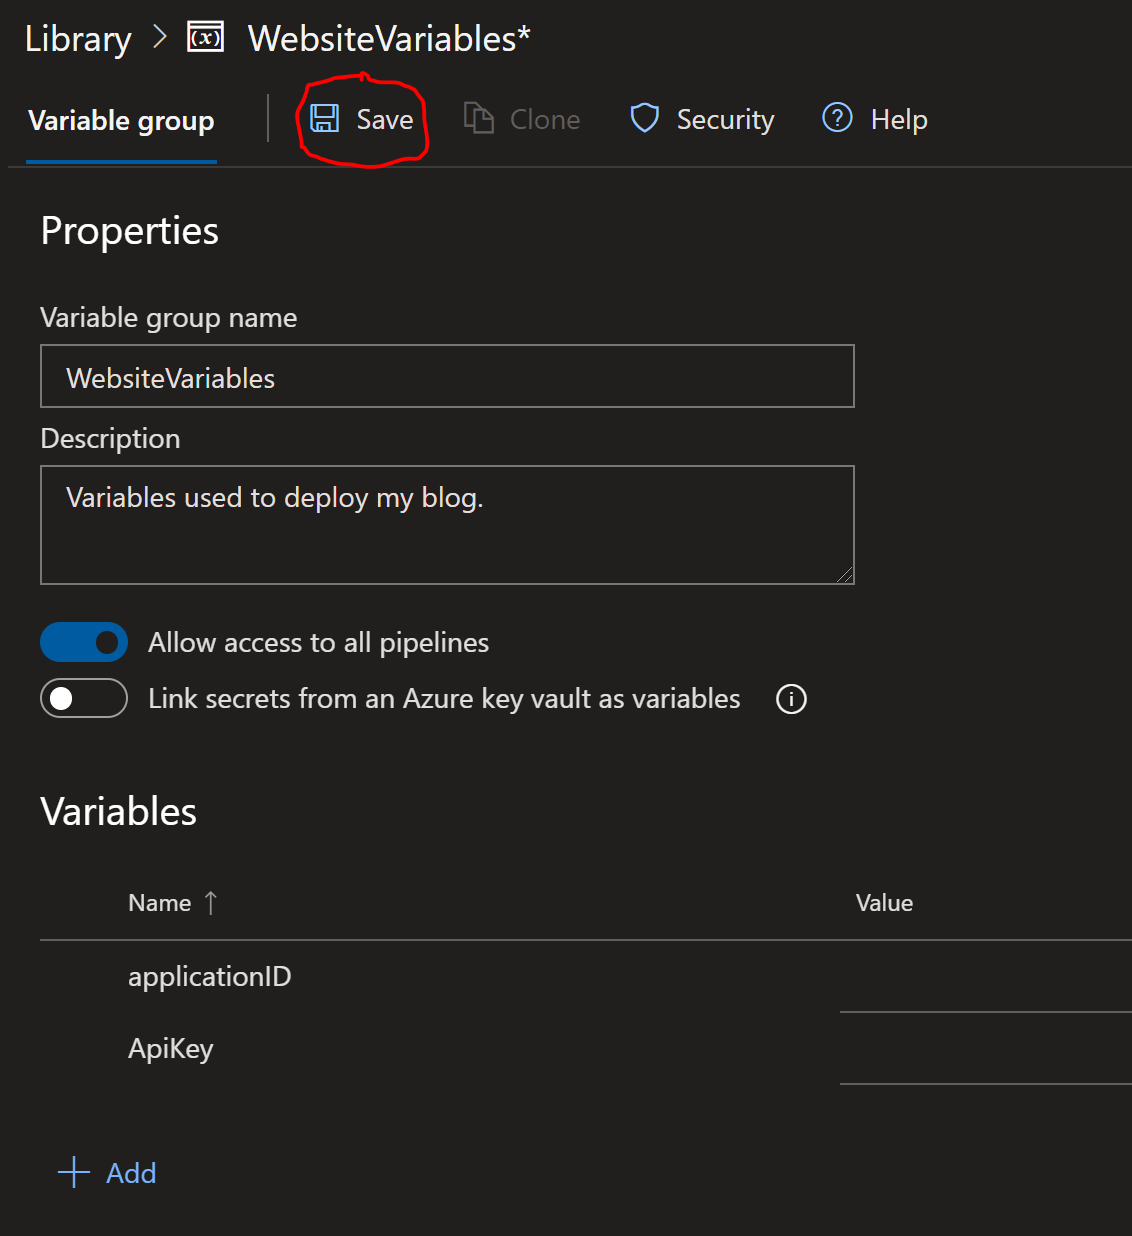
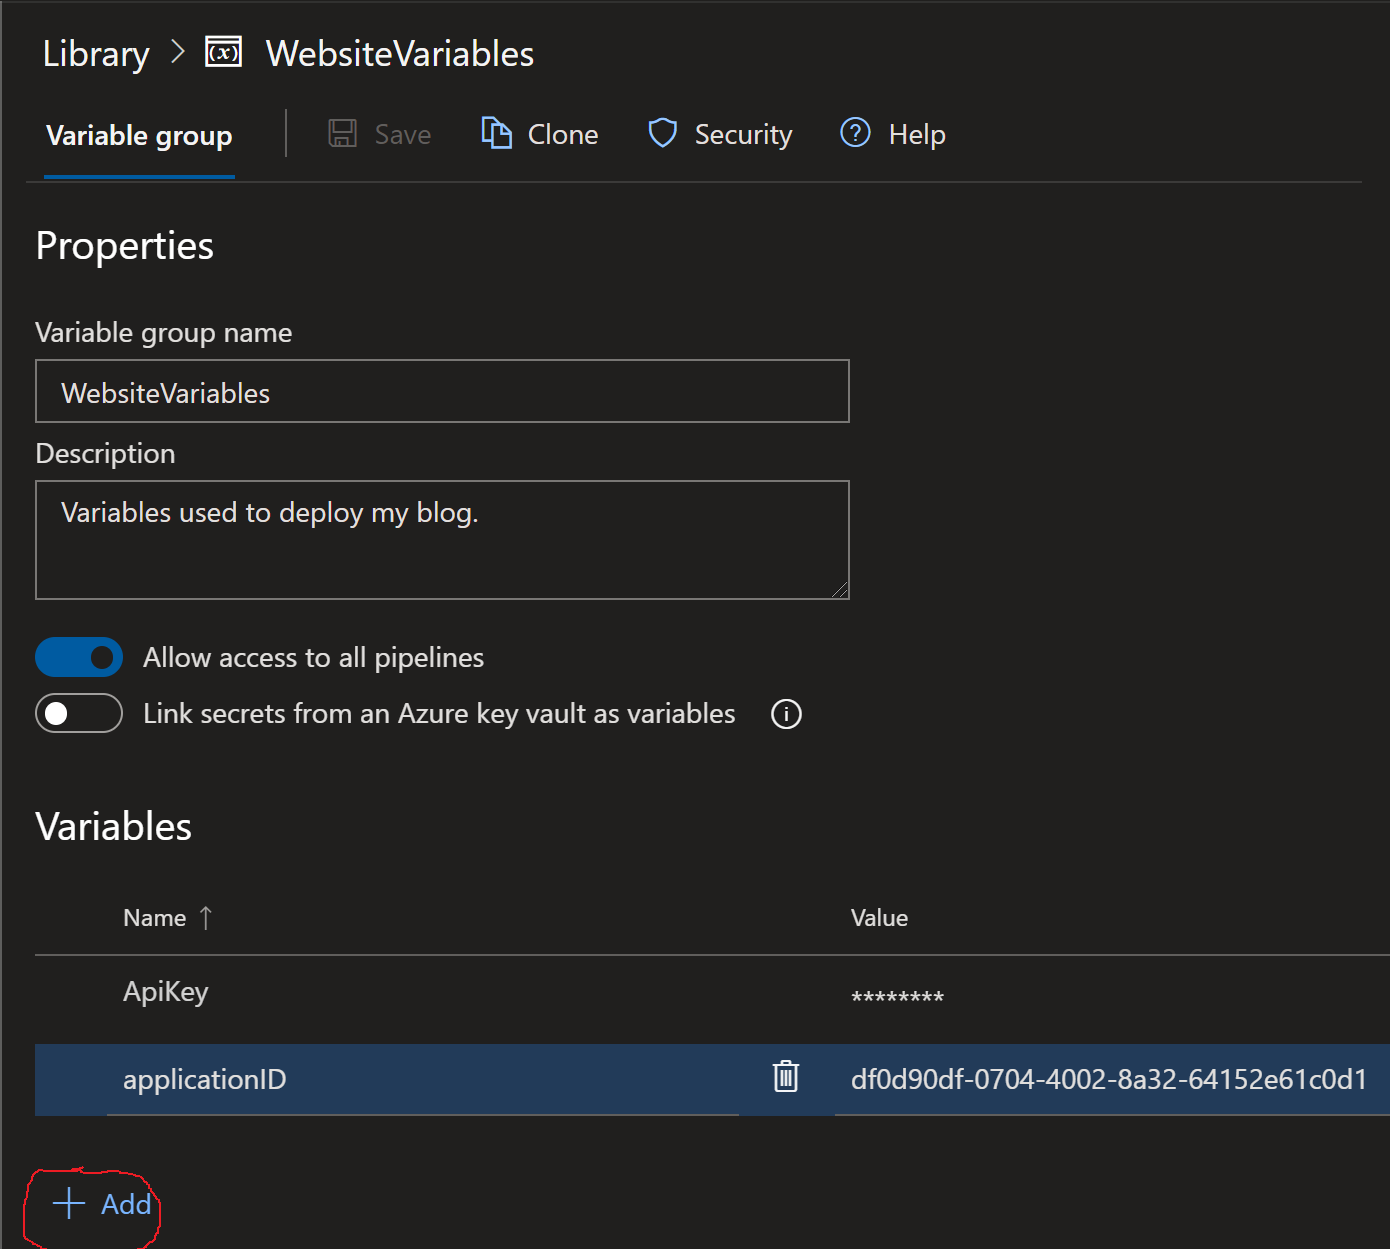
Enter a name and description and then click the + Add button.
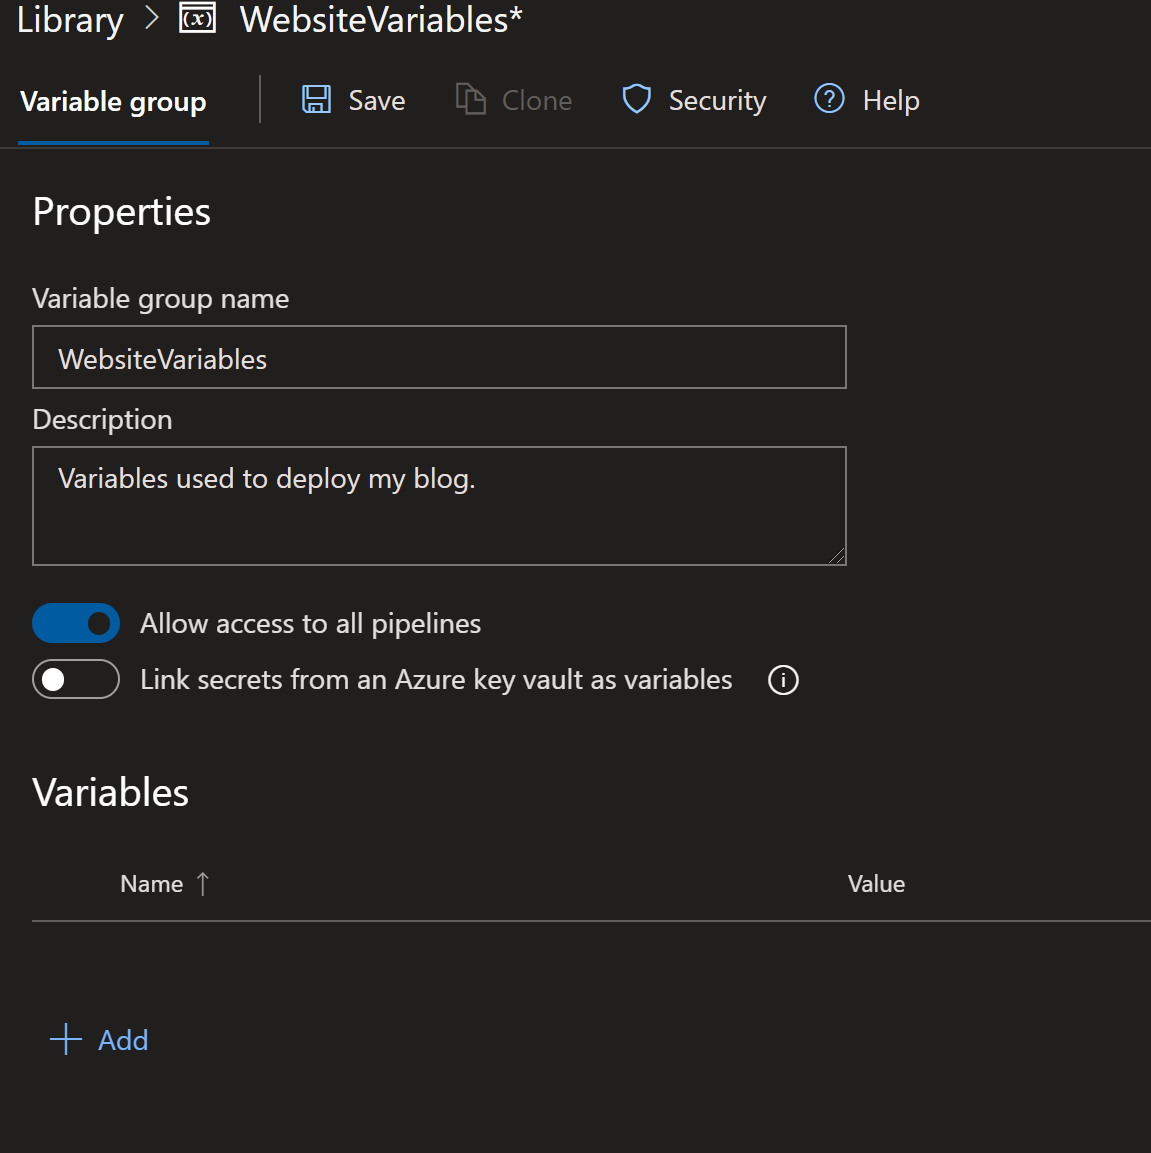
Enter applicationID in the name field, leave the value blank and then click + Add again. Enter ApiKey in the name field and again, leave the value field empty.
click save at the top to save these changes.
Go back and edit your pipeline. Locate the variables section and add the name of the group
My variables section before I added the variable group
variables:

  - name: "envPrefix"
    value: "prd"

  - name: "numberSuffix"
    value: "001"

  - name: "storageAccounts_name"
    value: "chg$(envPrefix)weblg$(numberSuffix)"

  - name: "reso....
My variable group after adding the name of my group (my group is called WebsiteVariables)
variables:

  - group: WebsiteVariables

  - name: "envPrefix"
    value: "prd"

  - name: "numberSuffix"
    value: "001"

  - name: "storageAccounts_name"
    value: "chg$(envPrefix)weblg$(numberSuffix)"

  - name: "reso....
Save your pipeline.
So we now have a Variable Library Group with variables that match the values in our pipeline. What we need to do now is updated them with our Application Insight keys.
To get the keys, you’ll need to log into the Azure Portal and browse to your Application Insights Workspace.
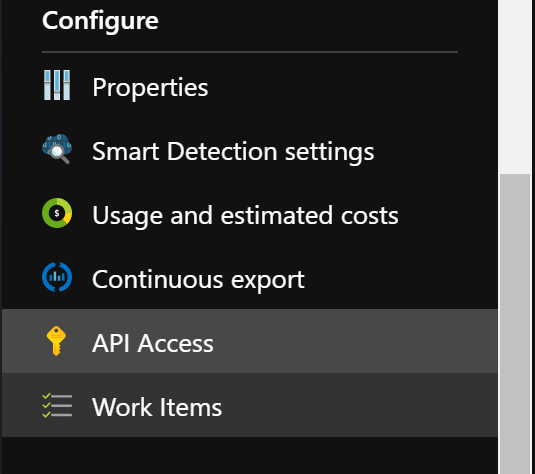
Scroll the left menu down to Configure and select API Access.
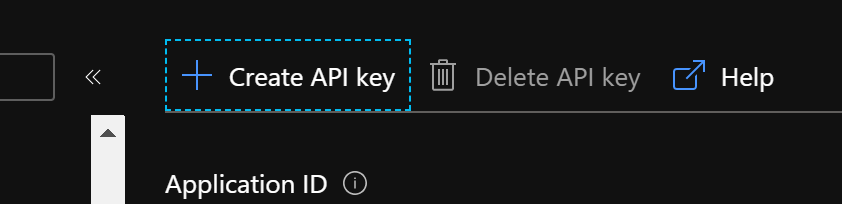
Make a note the Applcation ID, then click + Create Api Key
Enter a description and select Write annotations and click the Generate Key button.
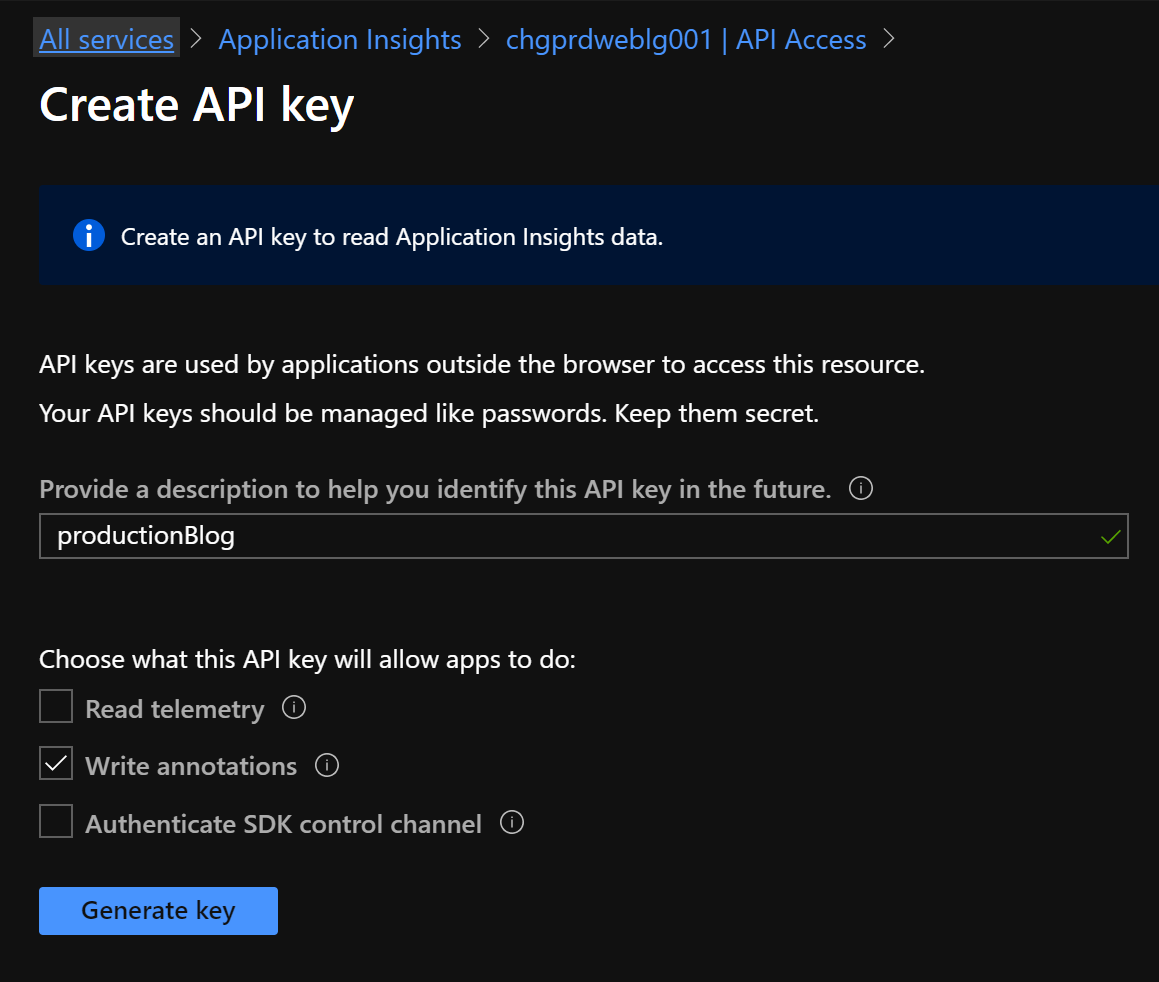
Copy the key and keep it safe, as if you lose it you will need to generate a new key.

Switch back to the Variable Library in Azure DevOps and update the values for ApiKey and applicationID.
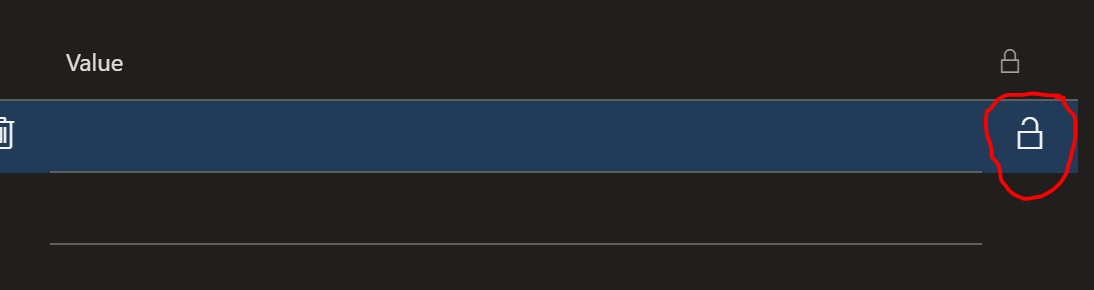
Click the padlock icon on the right of the values field to change the variable to a secret variable. You can set either or both values to be secret. I have just set the API Key to be a secret value. Click Save at the top
Run your pipeline
Once it’s complete look at the output from the release annotations task. It should look similar to the below
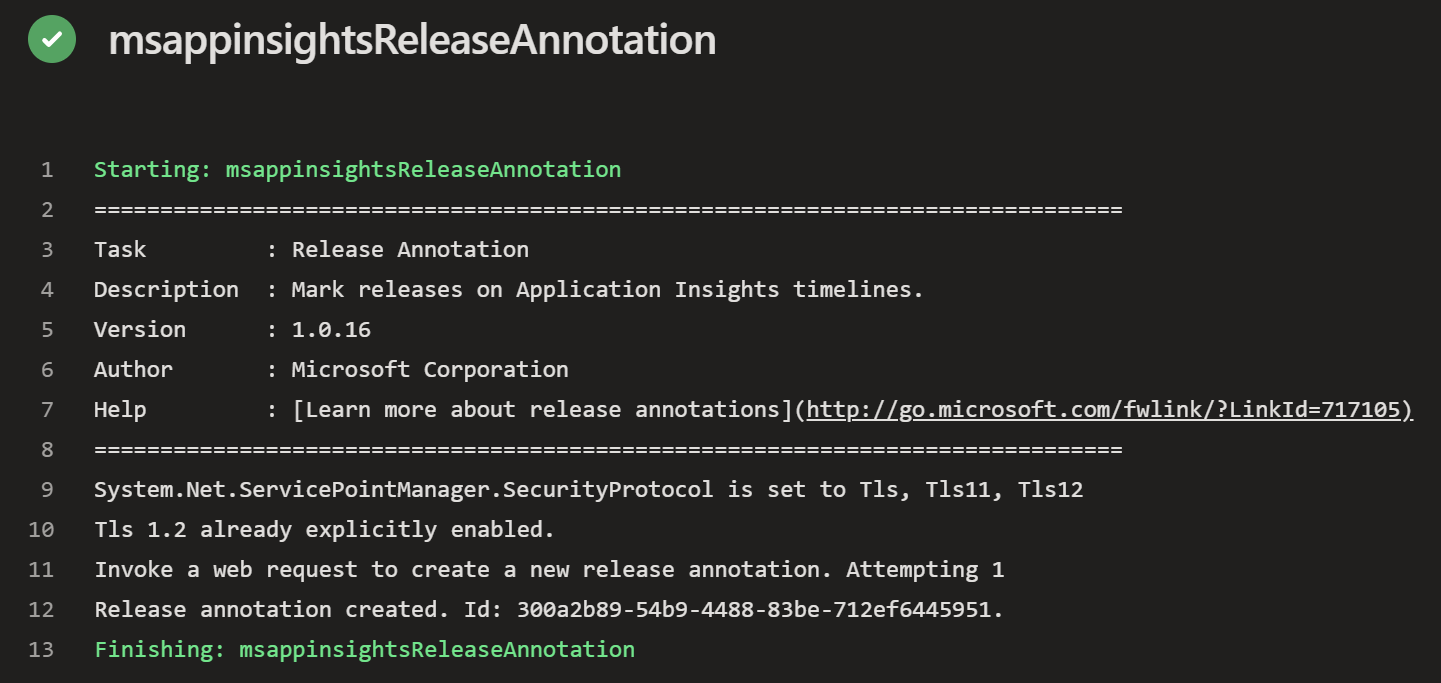
Wait about 15 minutes and the annotation should be visible in your Application Insights workspace. Currently they won’t be visible in Metrics, but you can see them in the usage views.
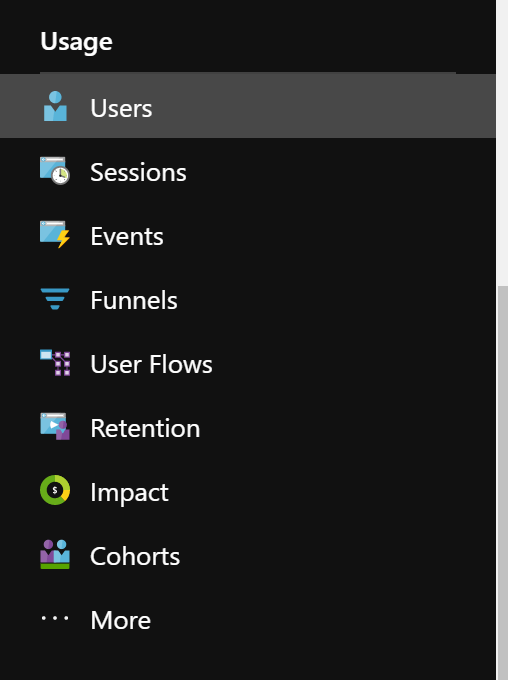
Here we can see my releases in the Users view
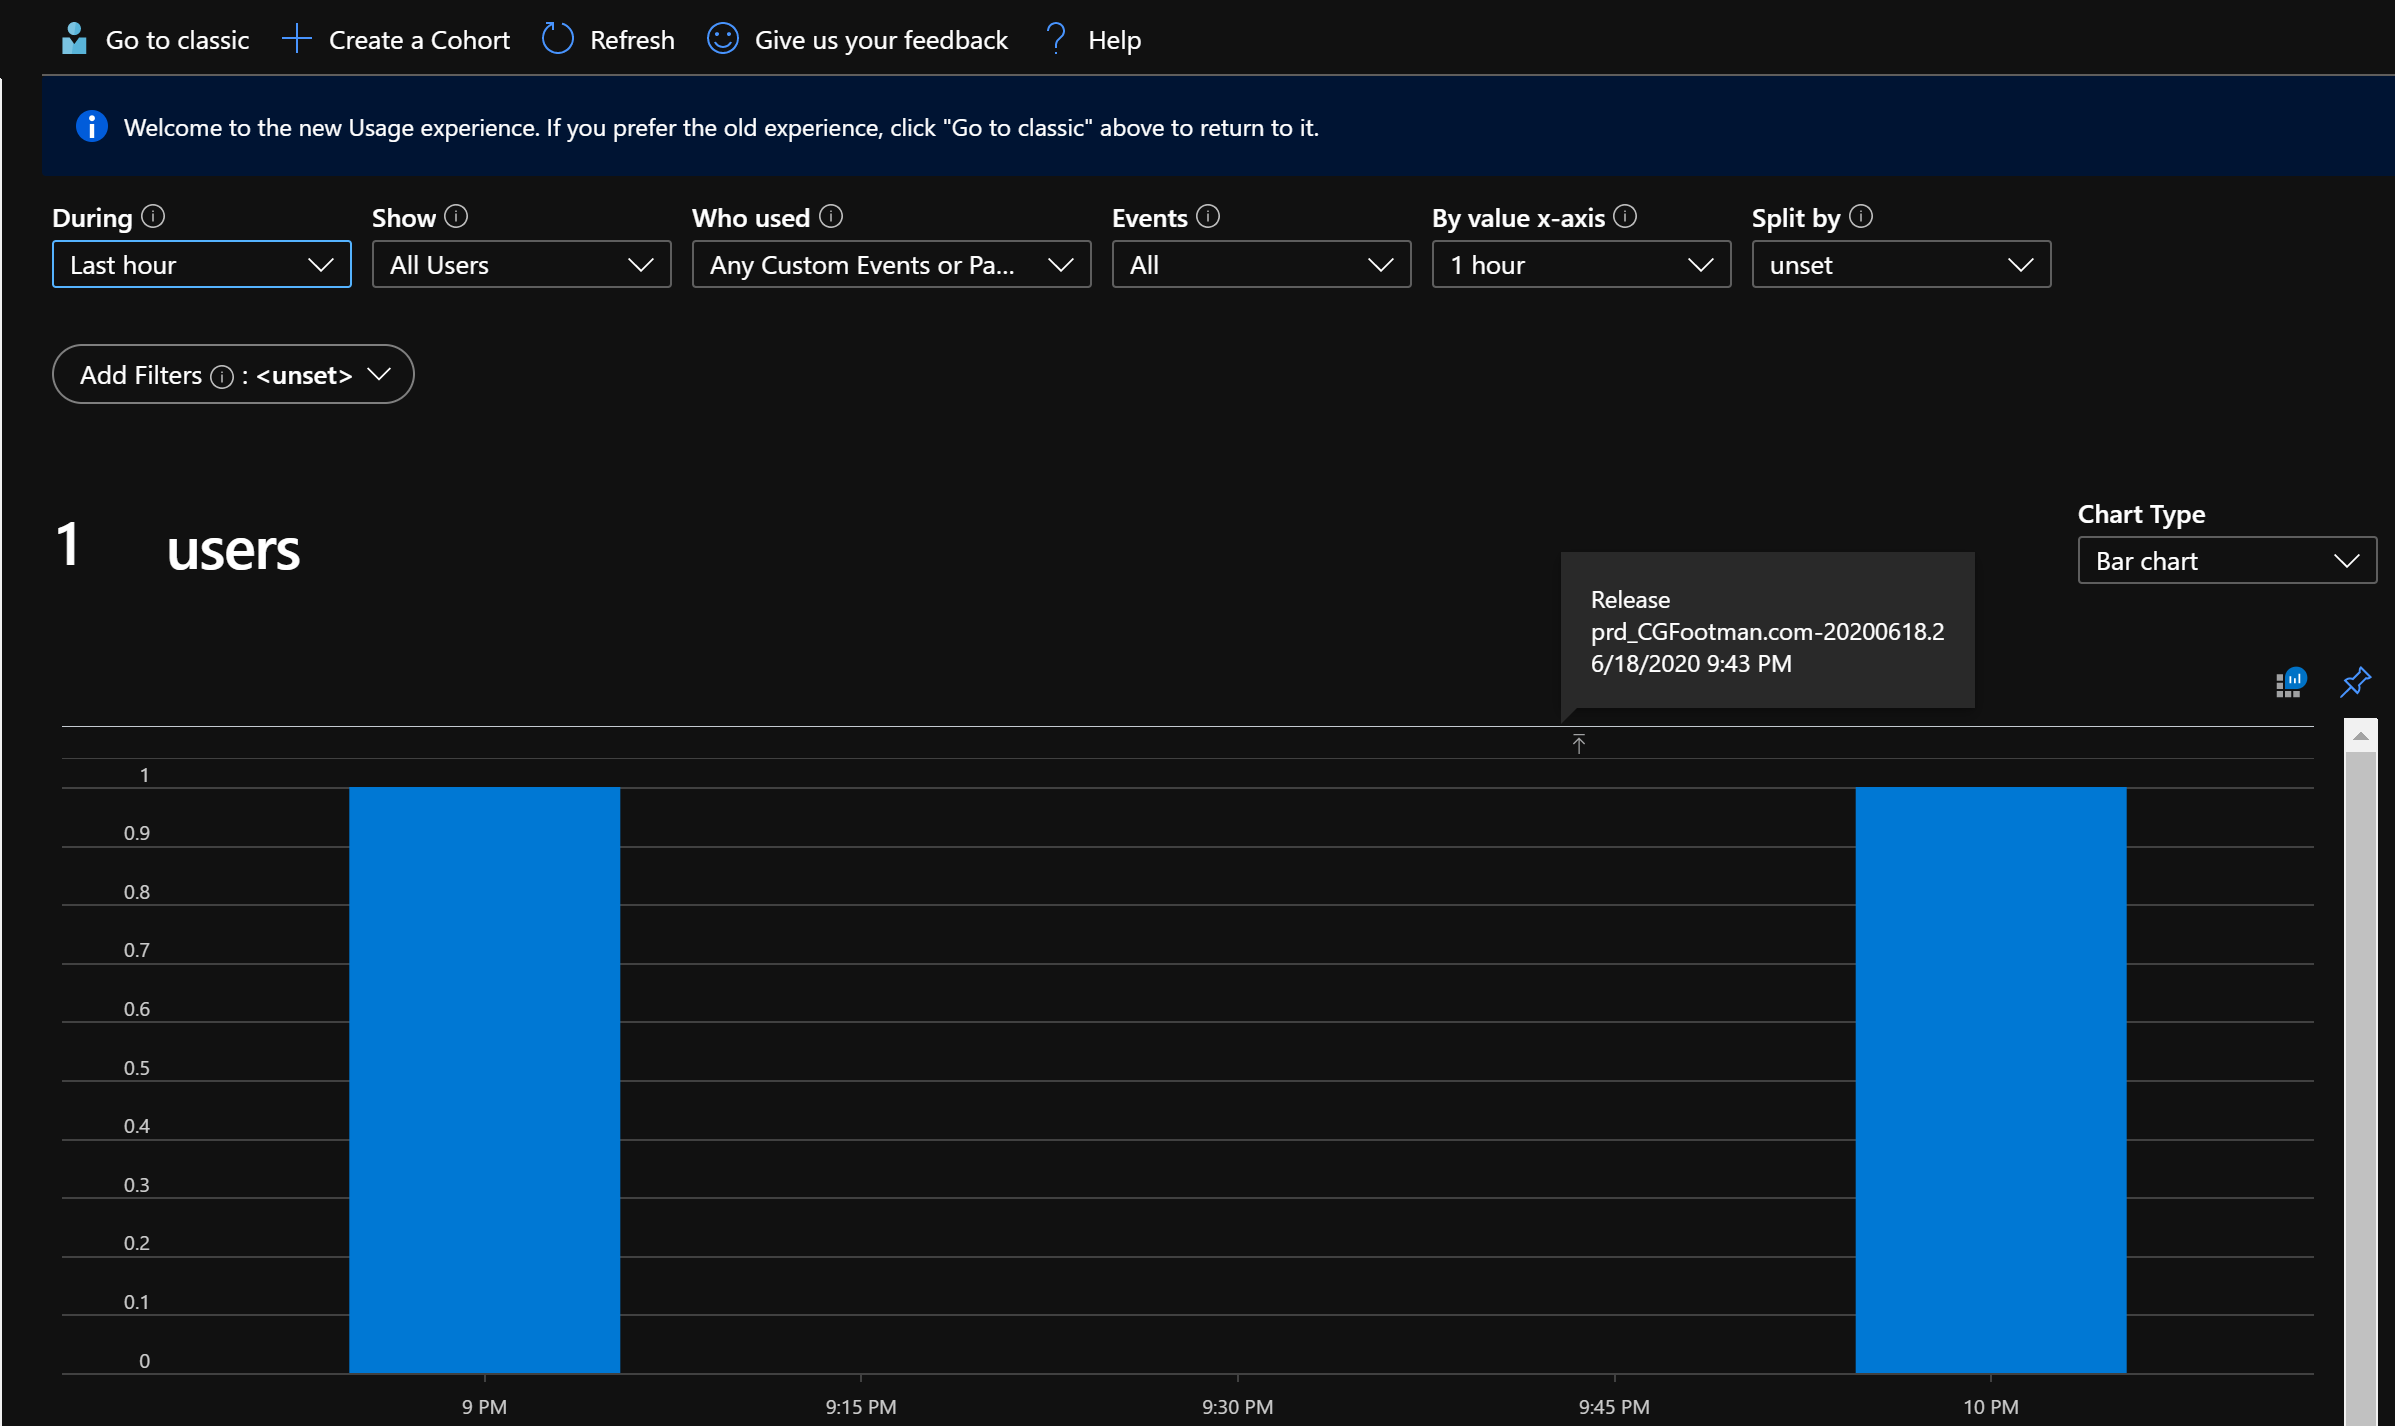
If you click on the annotation you get more details
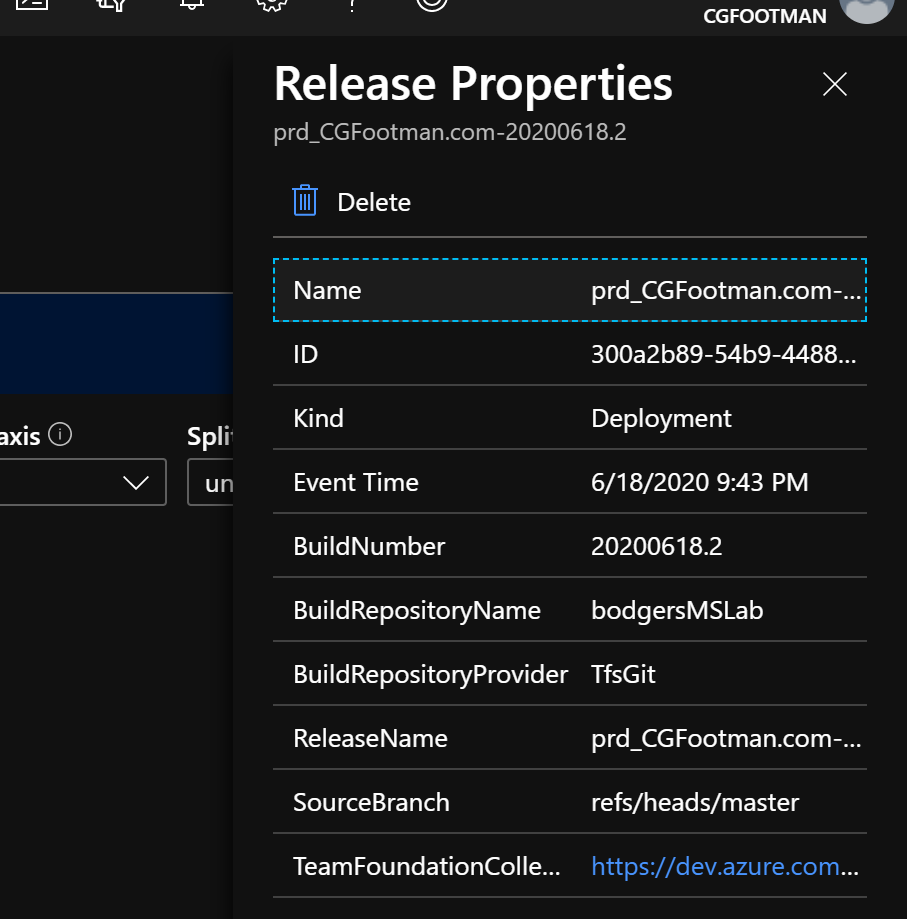
This is cool, you can see when a release was run and what impact that had on the site. What would be better though, is if we could add more information to our annotations and call them from wherever we wanted. Wether that be Azure DevOps, another CI/CD system or just a script.
Create Custom Annotations
Microsoft provide a PowerShell script to help you create custom annotations. You don’t need use Azure DevOps to run this script, but i’m going to run this as part of a pipeline for this example.
Download the script from GitHub and save it in your git repo.
The example Microsoft give in their documentation is below. They require the Application ID and API Key we created earlier (Or generate a new one) and a release name and release properties. The release name is a string, but release properties is an object. You can add more or less properties depending on your requirement.
.\CreateReleaseAnnotation.ps1 `
      -applicationId "<applicationId>" `
      -apiKey "<apiKey>" `
      -releaseName "<releaseName>" `
      -releaseProperties @{
          "ReleaseDescription"="<a description>";
          "TriggerBy"="<Your name>" }
I’ve added the ps1 file to the scripts folder in my git repo. To run it as part of my pipeline I have hashed out the previous task and added a powershell task. Normally I run all of my PowerShell scripts using PowerShell Core (pwsh: true), but this script needs to run with the desktop version of PowerShell.
#- task: ms-appinsights.ReleaseAnnotation@1
#  inputs:
#    applicationId: '$(applicationID)'
#    apiKey: '$(ApiKey)'

- task: PowerShell@2
  displayName: "Create custom release annotation"
  inputs:
    filePath: 'scripts\CreateReleaseAnnotation.ps1'
    arguments: '-applicationId "$(applicationID)" -apiKey "$(ApiKey)" -releaseName "$(Build.DefinitionName)" -releaseProperties @{ "BuildNumber"="$(Build.BuildNumber)"; "TriggerBy"="$(Build.QueuedBy)" }'
    failOnStderr: true
    pwsh: false
I added some extra information into releaseProperties, using some built in Azure DevOps variables. Specifically the release name, build number and the user who triggered the build. Using the annotation task, it took about 15 minutes to appear in application insights. However, using this script, it only took 2-3 minutes. You can see below that in the details it shows the information we provided
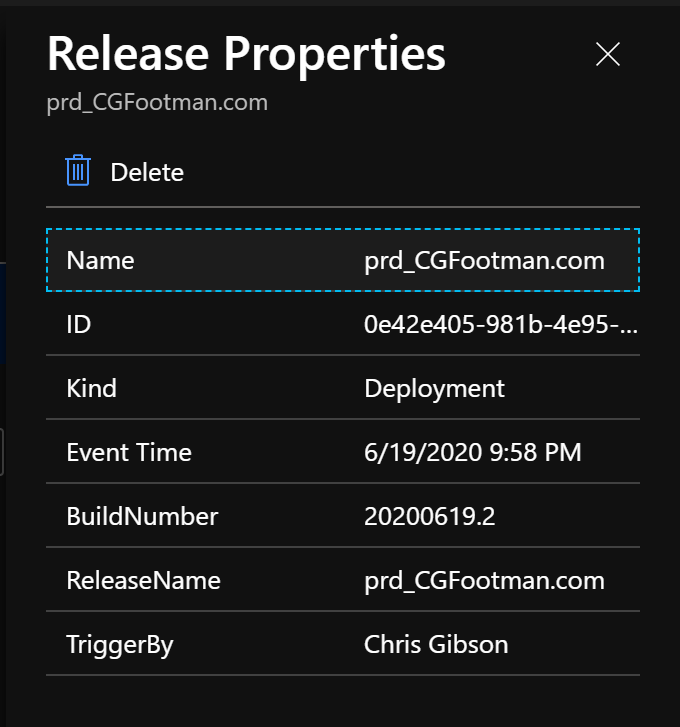 .
.
While the DevOps task is convenient, i’m going to use the script method for my pipelines. The ability to add your own customer information is mega, maybe not so much in my blog pipeline, but some of the more intensive pipelines I use at work would benefit from this. For example, when an Azure Function has it’s code updated or when scripts are run against a database.