Azure DevOps Scale set agents (Part 3)

In my last post in this series, I described how I created the VMimage I used for my scale set agents. In this post, I’ll show how I created the scale set and added it to an Azure DevOps build agent pool.
Creating the scale set
Microsoft have a great article on how to create the scale set. It walks you through the Azure CLI commands you need to run. I’ve added just two lines to the end of this command which enable the use of ephemeral disks.
    --ephemeral-os-disk true  \
    --os-disk-caching readonly
Below is the complete command, you’ll notice that you have to use the full path to the image and the vNet you intend to use for the scale set.
az vmss create  \
    --name "chgss001"  \
    --resource-group "rg001"  \
    --image "/subscriptions/xxxxxxxx-xxxx-xxxx-xxxx-xxxxxxxxxxx/resourceGroups/rg003/providers/Microsoft.Compute/images/chgImage-202010200838"  \
    --subnet "/subscriptions/xxxxxxxx-xxxx-xxxx-xxxx-xxxxxxxxxxx/resourceGroups/rg001/providers/Microsoft.Network/virtualNetworks/VNET001/subnets/AGENTS"  \
    --vm-sku "Standard_D2s_v3"  \
    --storage-sku "Standard_LRS"  \
    --admin-username "vmadmin"  \
    --instance-count 2  \
    --disable-overprovision  \
    --upgrade-policy-mode "manual"  \
    --single-placement-group false  \
    --platform-fault-domain-count 1  \
    --load-balancer '""'  \
    --ephemeral-os-disk true  \
    --os-disk-caching readonly
This command will take a few minutes to run. The cool thing with this command is that when you make a change to the image and want to update the existing scale set, you just update the reference to the image and run the command again. This is the same for the other settings, but I had to delete/recreate the scale set if I wanted to change the network it was connected to or switch to/from ephemeral disks.
Creating the Azure DevOps build agent pool for our scale set
In the same Microsoft article that I mentioned earlier, they show you how to create a build agent pool and assign the scale set to it (Told you it was great). I took me a while to get it right so I thought I would try and lay it out step by step.
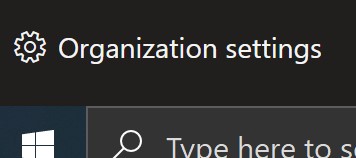
- Browse to your Azure DevOps org and click the settings cog in the bottom left-hand corner to get into Settings
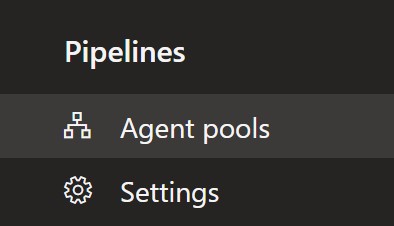
- Scroll to near the bottom of the list and select Pipelines > Agents Pools
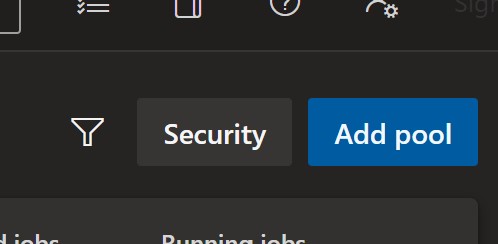
- Click the Add Pool button in the top right of the screen
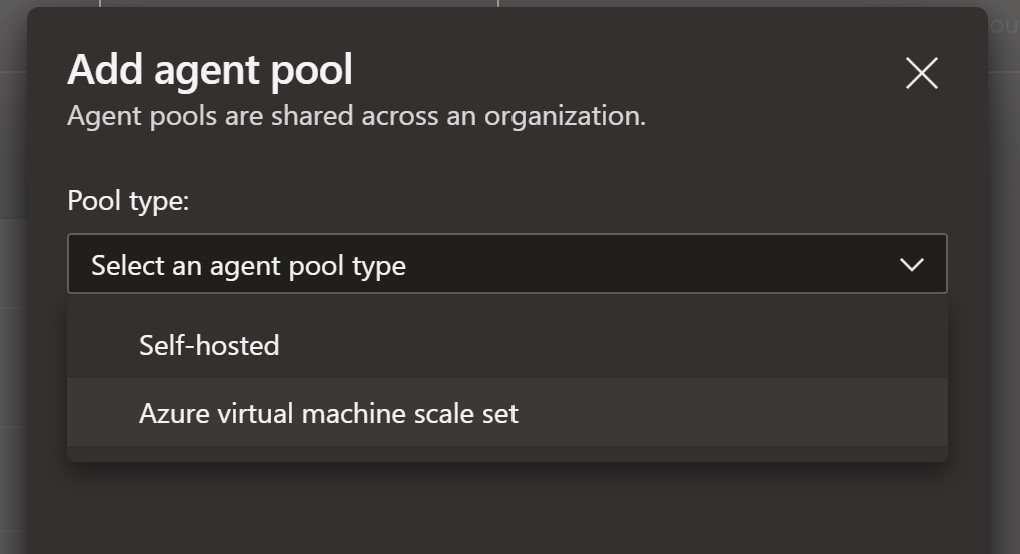
- Select Azure virtual machine scale set as the agent pool type and the dialog will expand
Pick your subscription from the list (steps here if you need to create one) and then the scale set you wish to assign to the pool.
Add a name for the pool, this can be anything you like
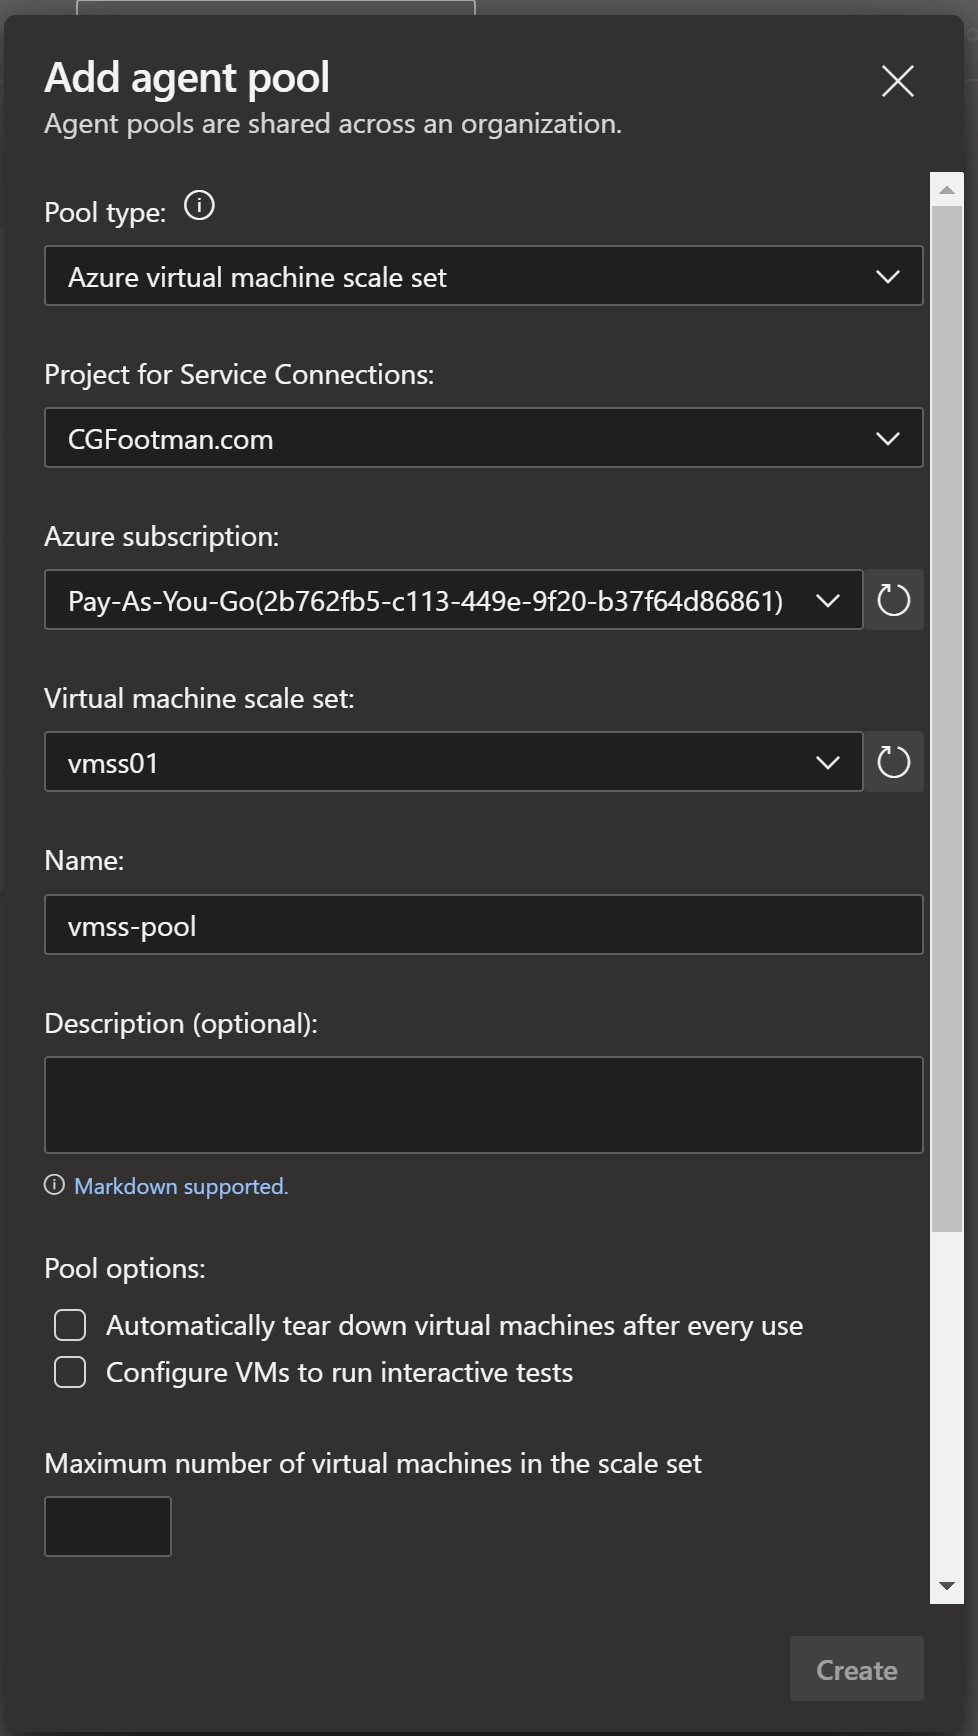
- The lower section of the dialog is headed Pool Settings. Here you set how you want your scale set to behave.
Automatically tear down virtual machines after every use I’ve set this for a number or reasons but the general idea is to have a clean agent each time.
Maximum number of virtual machines in the scale set I have set this at 15. It appears that even though I set the build agents to tear down after each build, they seem to remain for the time out period. However, during this time they do not appear to be available for jobs. 15 seemed a good number to account for these agents hanging around.
Number of agents to keep on standby I have set the number of standby agents to zero, this is purely for cost. It is my understanding that at some point, DevOps will allow you to schedule your standby agents so you aren’t paying for agents out of hours when you don’t need them.
Delay in minutes before deleting excess idle agents This is something I’m still tweaking. If you submit 1 build, DevOps will deploy a number of agents - which seems to depend on the maximum size of your build agent pool. If you set the timeout too low, it’s possible that the other build agents will have been made unavailable before you submit your next build. You would then be in the situation of having to wait for a new set of build agents each time you run a build. Which could become more of a problem if you have set the maximum number of build agents too low.
I have left both pipeline permissions in their default state - enabled. I don’t see either as a problem, but you may want to consider the options in your own environment. Once you’re happy with your choices, click Create

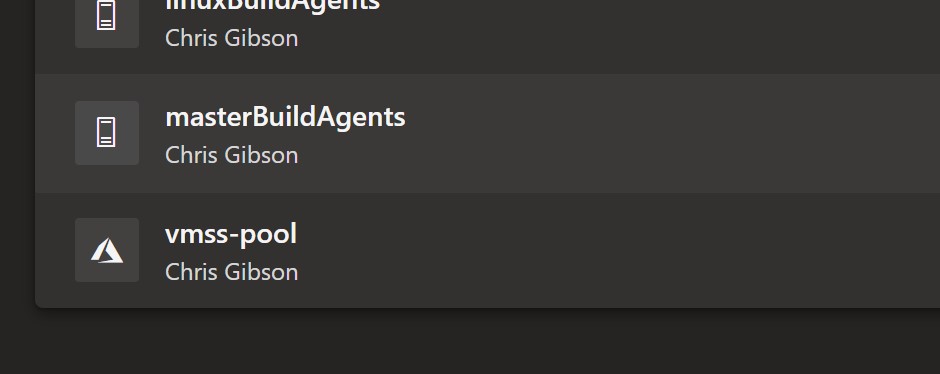
- You’ll notice in the Agent Pools screen you can now see your new agent pool
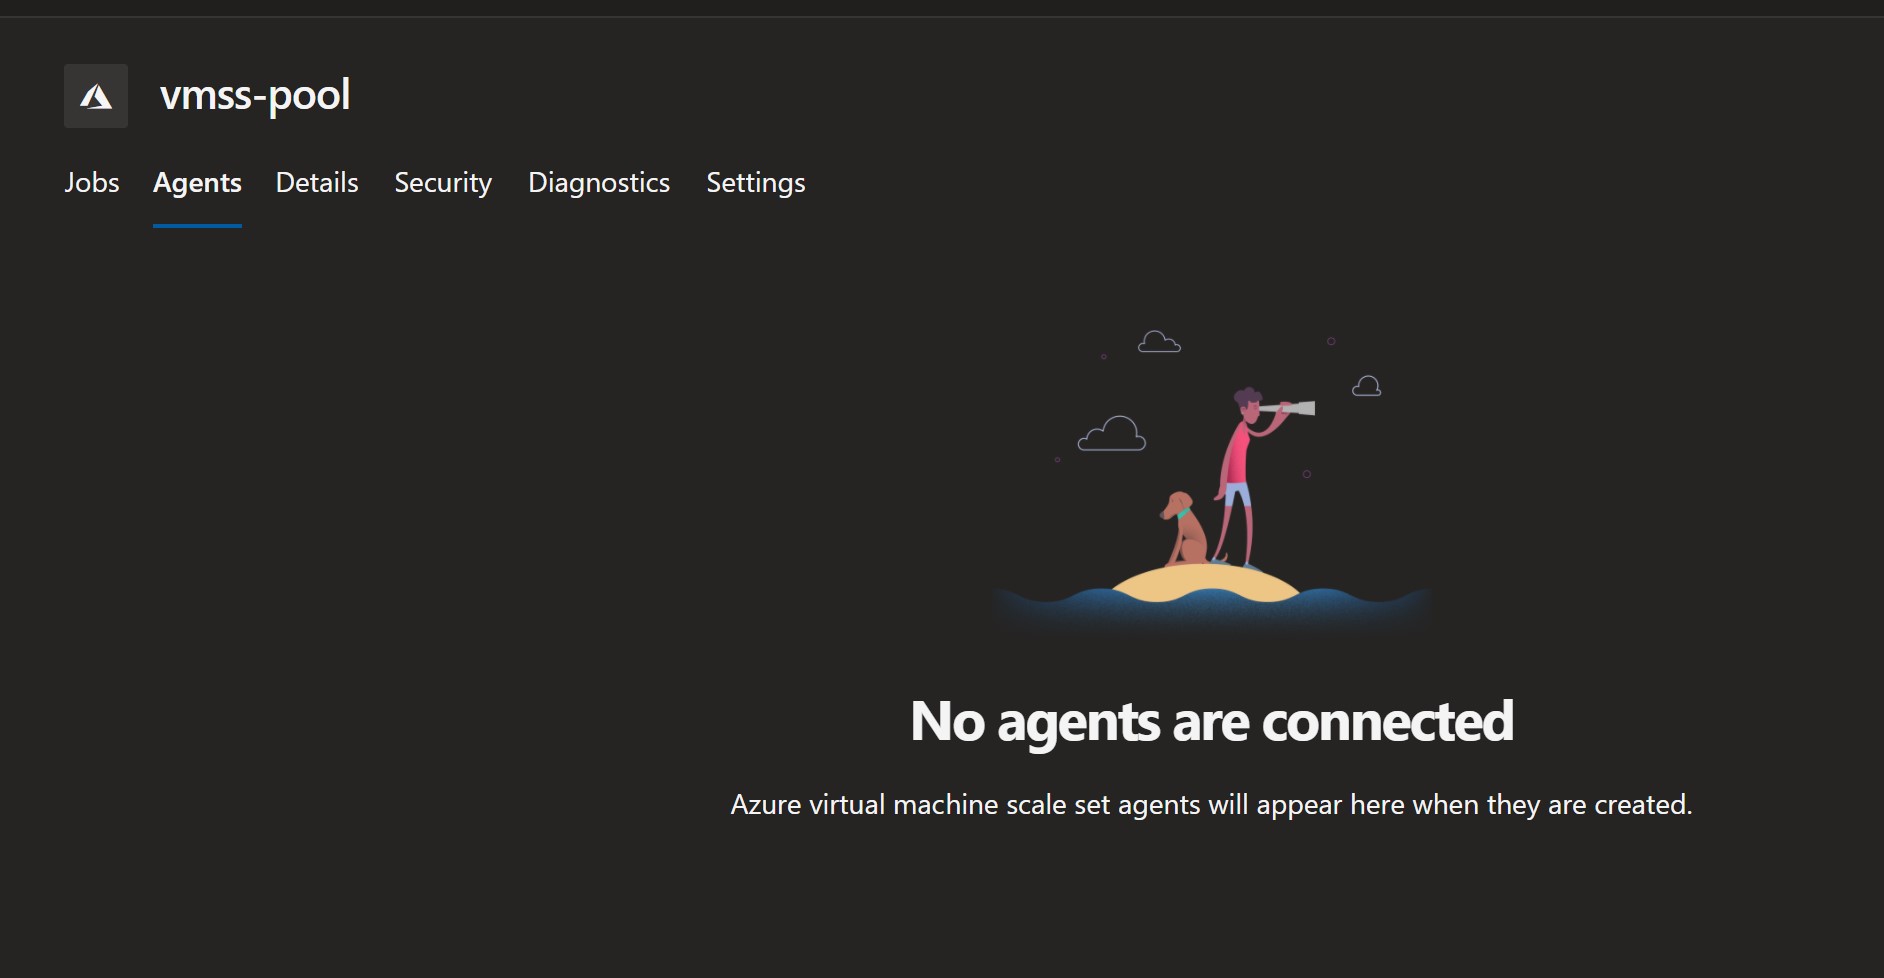
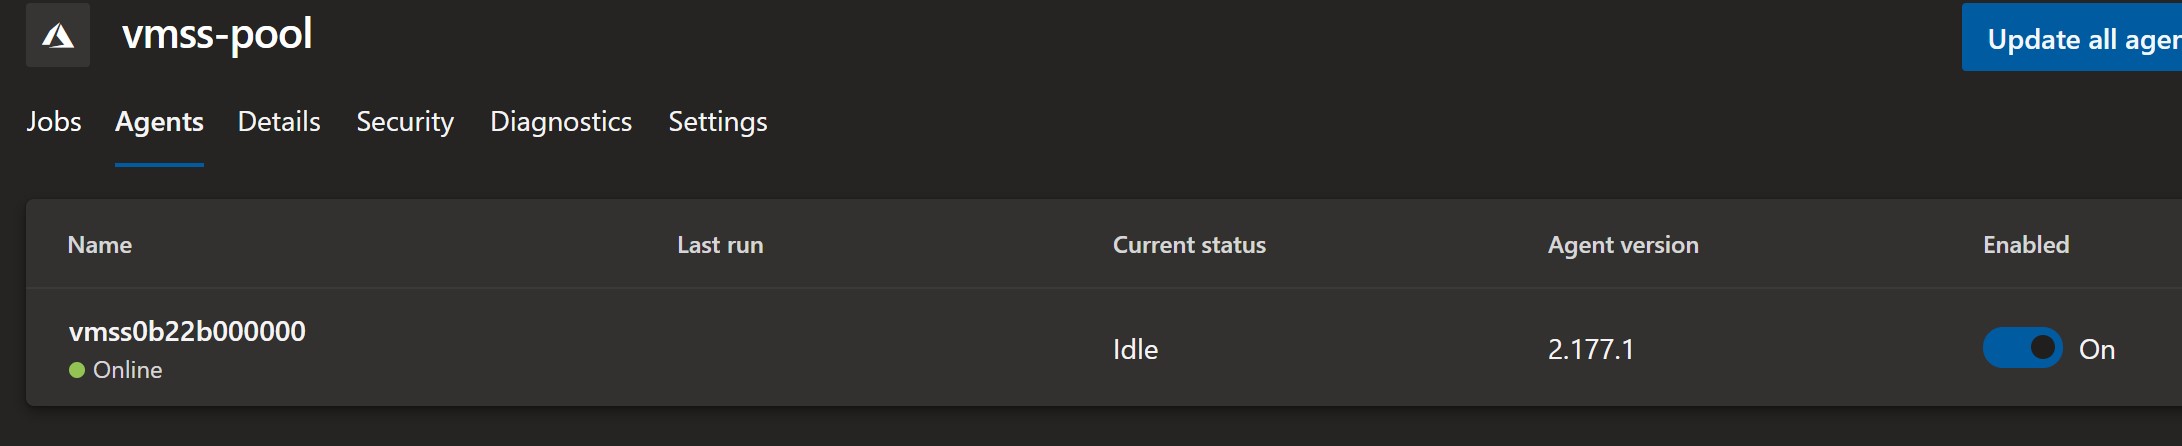
- However if you click on your agent pool and then Agents, you probably won’t see any.
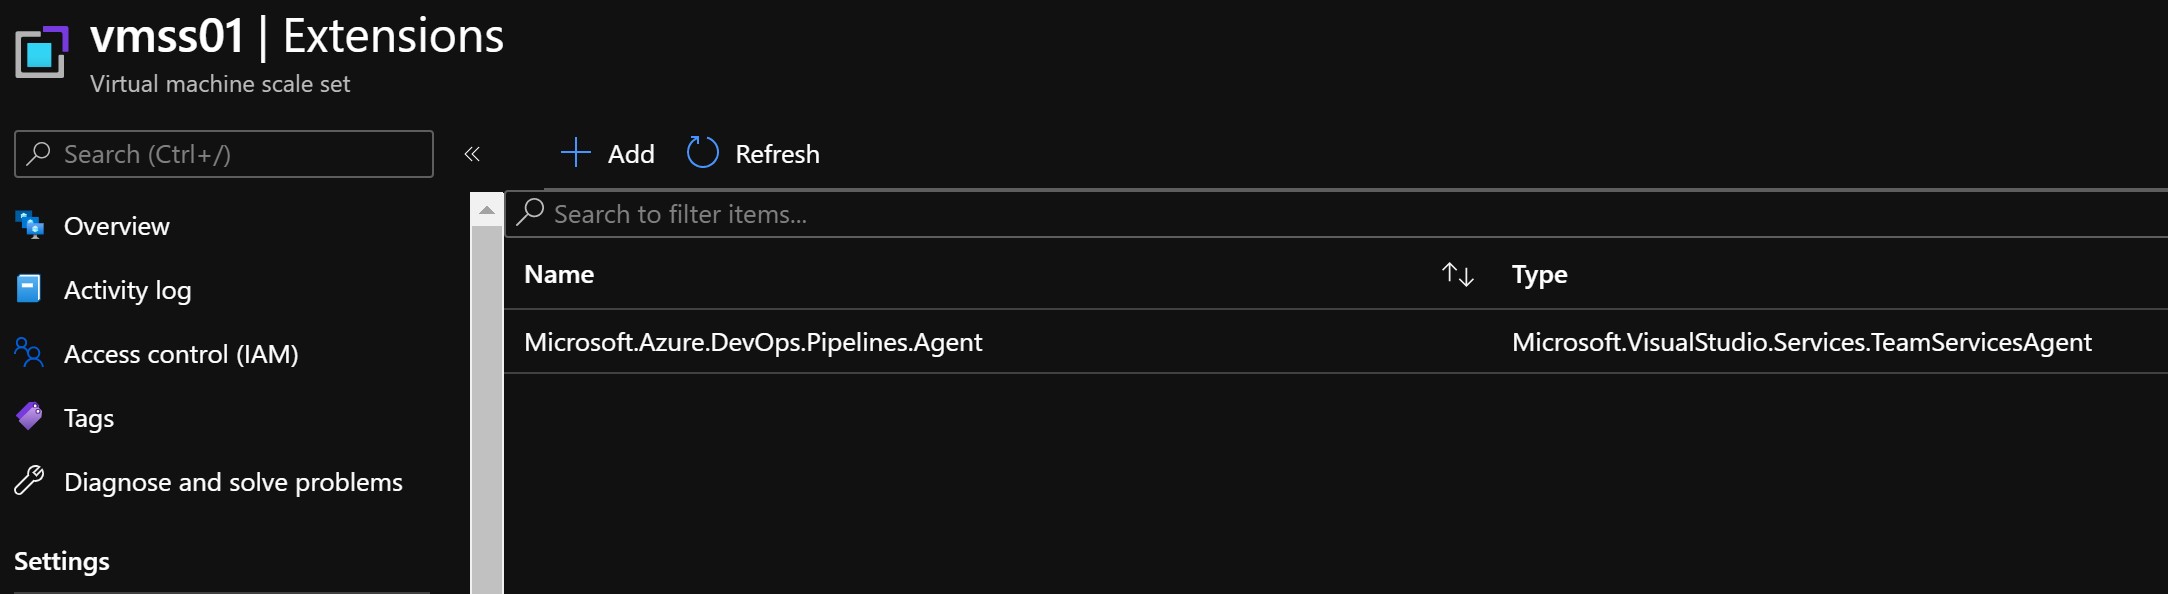
- Log into the Azure Portal and find your Scale Set, you should see a new extension installed. The Microsoft.Azure.DevOps.Pipeline.Agent to be precise. This is what configures the agent settings on the scale set instances.
- If you switch to the Instances tab you will see that your initial agents (In this case a single agent) are not the latest model, this is because they do no have the DevOps extension installed.

- Click the box next to your agent and select upgrade, after a few minutes is should show yes under the latest model

- If you go back to agent pools in the Azure DevOps portal, you should now see your agent. It might take a few minutes to show as online, but once its green, it’s ready to accept jobs.
This is going to be my last “how to” post in this series. I’ve been gathering some observations on how I’ve found using scale set agents and when I have enough to share I will write another post. If you have any questions or observations of your own, please let me know in the comments.