Create an Azure DevOps build agent server from Microsoft’s runner-images repo

Azure DevOps uses build agents to run pipelines, these can either be the Microsoft Hosted agents or build agents installed on servers you host yourself. If you’ve used DevOps for a while, then you’ve probably created your own VM either in Azure or your own network and manually installed the devops agent. This works and lets you install only the software you need, but eventually you’re going to have problems that need attention.
It could be a normal infrastructure issue like routinely running out of disk space or it could be that a build just starts failing for no reason. If you have a have a high volume of pipelines running you might deploy multiple VMs, which gives you another problem, how do you consistently control software on them. I’ve used PowerShell DSC in the past, but I don’t think it’s ideal for software lifecycle management on servers and it’s a lot of work. Fine for me, because my backgroud before DevOps was Windows Server and I do still find it interesting. However, like a mechanic, i’d rather not have to work on my daily if I don’t have to.
Microsoft and GitHub build their build servers (or runners as GitHub calls them) from code and have made this code available for use. Sounds great right, but it’s not that simple. All the pieces are there, but you need to assemble them. I don’t mean to sound ungrateful, but I have lost quite a few hours to getting this to work. It’s very cool but also very annoying - a bit like Azure DevOps.
The Repo
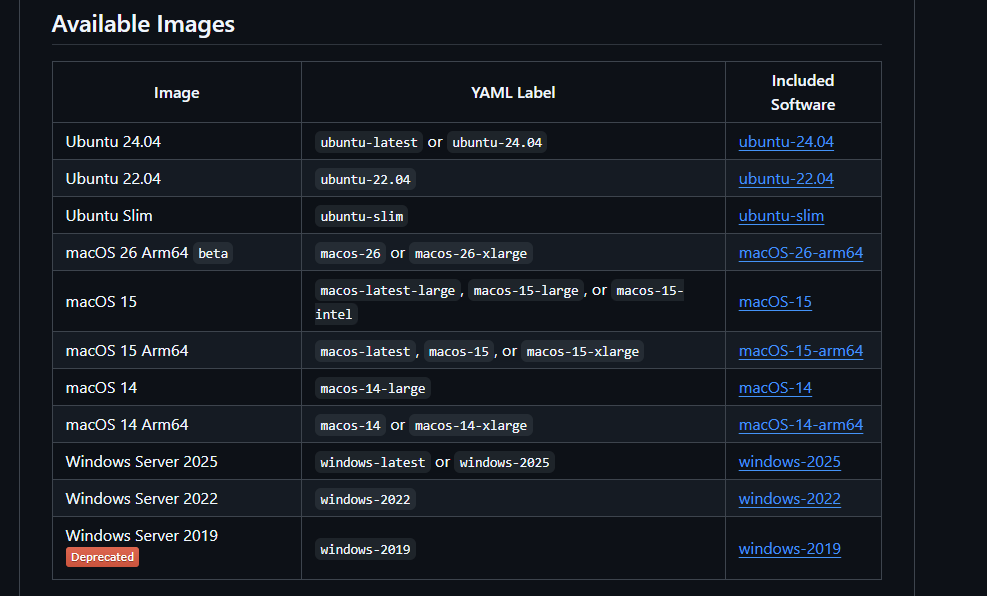
The repo runner-images has definitions for multiple images. I’m going to focus on the Windows Server 2025 image as it’s the one I know the best. However, I found creating a ubuntu 24 image just as simple. If/when I get that one customised and deploying ok I might blog about it.
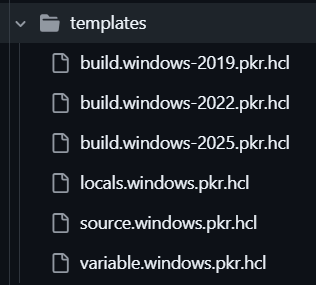
I’m not going to go through the whole strucuture, but the folders that we are interested in at the moment are /helpers and /images/windows. The helpers folder have the scripts which orchestrate the image creation process and windows folder has the packer template and the toolset files. These are used for the packer process and the subsequent software installs
The Process
As you can probably guess from the above, the runner-images process uses a combintation of Packer and PowerShell to create the image.
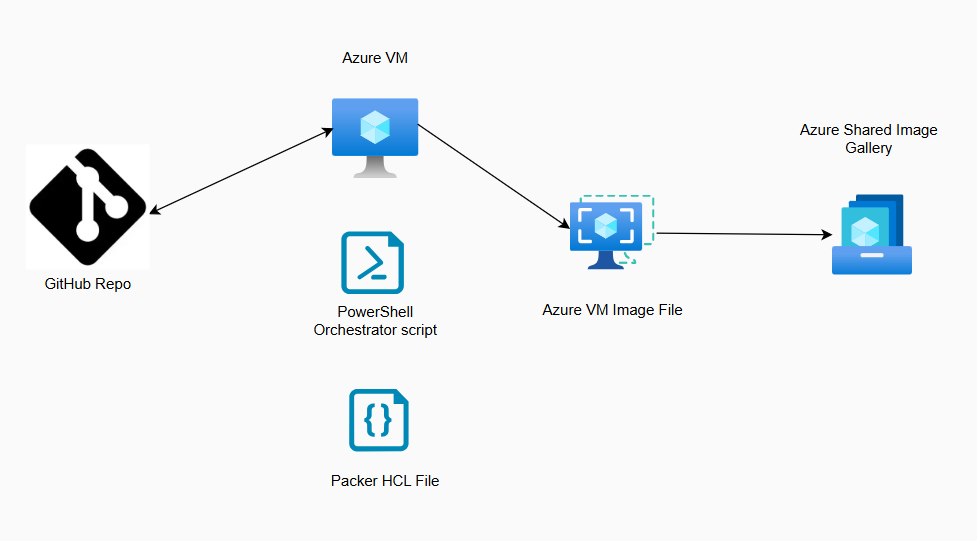
The PowerShell script runs the packer executable and the hcl templates dictate what software is installed and how the operating system is configured. In these templates you can set things like the os disk size and the VM generation.
Try it out
To see how this process works, can you just clone the Github repo to your local machine and run the powershell script. it’s worth mentioning that this process can take up to 5 hours.
So, once you’ve got the GitHub repo cloned open a PowerShell prompt and browse to the folder
# I cloned the repo into a folder I created called c:\git
set-location "c:\git\runner-images"
Then you need to log into Azure
# Log into Azure with your user credentials
login-AzAccount
# Create an Azure resource group.  You need to make sure you have the Az PowerShell module installed
New-AzResourceGroup -Name temp-image-rg -Location westeurope
The last commands are best run from either a script or vscode (hightlight and press f8). Before you do run it, make sure to replace the place holders with your Azure Tenant Id and Subscription Id
Import-Module .\helpers\GenerateResourcesAndImage.ps1

GenerateResourcesAndImage -SubscriptionId "########-####-####-####-############" `
    -ImageGenerationRepositoryRoot "$(Build.SourcesDirectory)/runner-images" `
    -ResourceGroupName "temp-image-rg" `
    -AzureLocation "westeurope" `
    -ImageType "windows" `
    -AzureTenantId "########-####-####-####-############" `
    -ManagedImageName "Runner-Image-Windows-$(Get-Date -Format 'ddMMyyyy')" `
    -tags @{ 'Owner' = 'DevOps'; 'Service' = 'Azure DevOps Runner Image'; 'ImageType' = 'Windows'}
Once completed you will have an Azure VM Image that you can upload to an Azure Compute Gallery and then deploy VMs from.
When you have deployed a vm from your computer gallery, it will have all the software and configuration that the Hosted Microsoft agents do, but you will need to install the DevOps agent AND connect it to your DevOps organisation. Microsoft have written a great doc on this and it’s not that difficult thankfully.
This is great but…
This is all cool and stuff, but you’re not living the “automated agent deployment” dream at this point. In fact, you’ve had to do several manual steps to deploy a VM that only has an OS disk. Also if you didn’t realise before, you know now that adding an image to a compute gallery is a right faff.
So how can we make this process slicker? We’ll for a start we can run this in an Azure DevOps pipeline so that our laptop doesn’t need to be left on for nearly 5 hours. We can automatically add the image to the compute gallery. We can also modify the packer hcl templates to install different software versions or add extra software (Antivirus, compliance software etc). We can change the OS disk size or even add extra disks. We can add software or configuration, post deployment. We can add the server to our virtual networks, in fact we can do almost anything we want.
The next post in this series is going to cover setting up an Azure DevOps pipeline to create the image and add it to Azure compute gallery. After that I will move onto to customising the image and automating adding the deployed VM to Azure DevOps. Anyway, I hope you found this useful and if not or if you have any question, please contact me.